How to Make Money Fast on Clickbank (No Website Required!)

If you're a content creator or a digital entrepreneur, there's a good chance that you've heard of ClickBank. While this platform is highly popular among affiliate circles, it's also an excellent place for vendors to launch products or services.

However, you might be wondering how to do that if you don't have a fully developed online store (or even a website).

Fortunately, you can solve this problem by listing your products using “buy now” buttons. This way, customers can go through the checkout process without needing to step foot in a virtual shop.

In this post, we'll provide you with an overview of the ClickBank marketplace. Then, we'll show you how to use the platform to promote your products and make money fast. Let's get to it!

An Overview of ClickBank

ClickBank is an online marketplace where vendors and content creators can find marketers to promote their products:

ClickBank homepage

The platform supports a classic affiliate marketing model. This means marketers earn commissions when customers make sales through their affiliate links. This setup creates a win-win situation for both affiliates and sellers.

It's also important to note that ClickBank is ideal for digital content creators hoping to earn passive income. That's because when you're selling a digital product, your return on investment (ROI) is much higher. In turn, you can offer a higher commission, and affiliates will be more eager to partner with you.

With ClickBank, affiliate marketers can instantly find your offers and promote them. You don't even need an official website for your products.

Moreover, ClickBank's algorithm rewards high-performing offers, boosting them to the top results pages in its internal search engine. As a result, with ClickBank, it's possible to make money fast.

How to Make Money Fast on ClickBank (No Website Required!)

Now that you know how ClickBank works, let's discuss how you can get started on the platform. If you follow these steps, you'll be able to generate a profit in no time!

Step 1: Identify Your Product

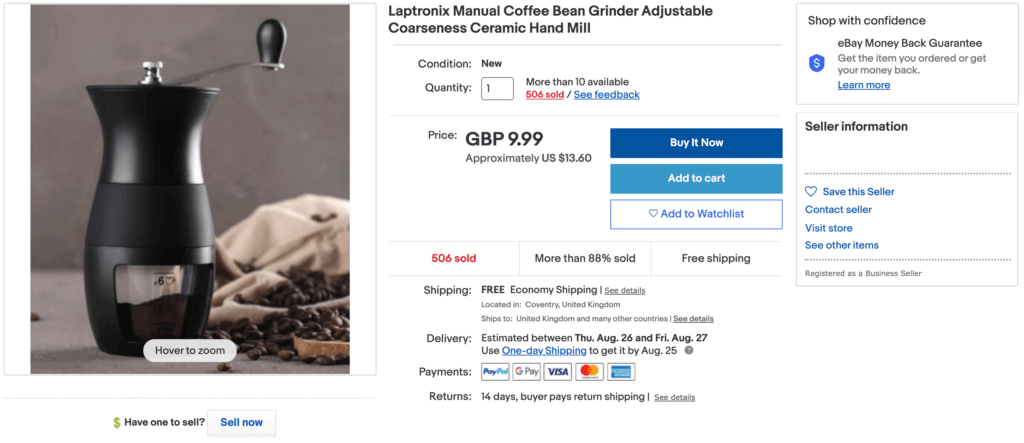
Before you consider getting set up with ClickBank, you'll want to ensure you have a product that can succeed on the platform. As we mentioned before, due to a high ROI, digital products are excellent options:

An example of a digital product sold on ClickBank.

Here are a few examples of digital items you could potentially offer on ClickBank:

  • Ebooks
  • Video tutorials
  • PDF guides
  • Electronic software and services

While digital goods are more likely to perform well, you shouldn't be discouraged if you run a small business dealing in physical goods. You can still promote these items on ClickBank.

However, you'll want to ensure your supply chain and processing systems are in place beforehand. You won't want to accidentally create a bottleneck if your product gains unexpected traction.

Step 2: Design Your Offer Page

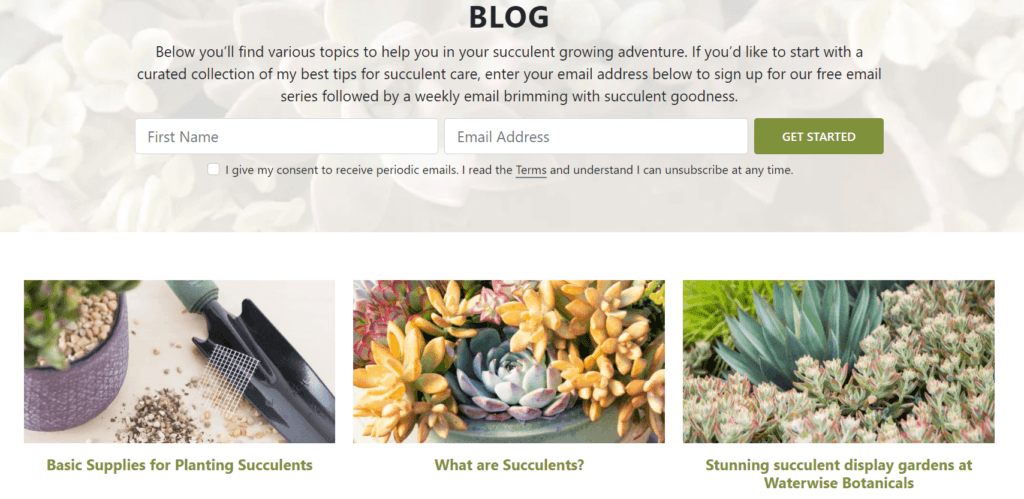
After identifying an appropriate product, you'll need to create an offer page. You don't need a full-blown ecommerce website to make money on ClickBank. However, you will need to provide affiliates with a URL that leads to a page where they can buy your product.

In fact, ClickBank strongly encourages users to create a landing page before signing up. Luckily, there are plenty of free landing page builders that you can use.

Carrd is an excellent option for this purpose. It offers an intuitive interface and plenty of templates to help you get started:

Carrd landing page builder

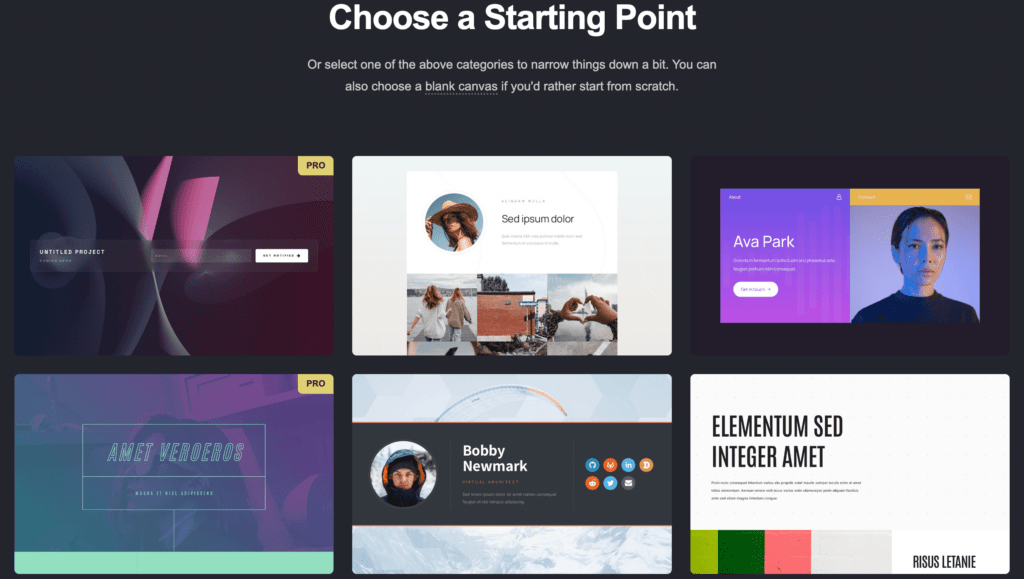
Once you've chosen a landing page builder and a design, you'll want to fill in the details for your product. Be sure to add relevant images and a detailed description of the item you're selling.

Since this is the only page people will see, it's a good idea to take your time creating this content. You may even consider hiring a copywriter to help you develop the best-quality content.

Step 3: Create a Buy Now Button

Since you don't have a website with a payment processing system, the next step is to make a buy now button for your new landing page.

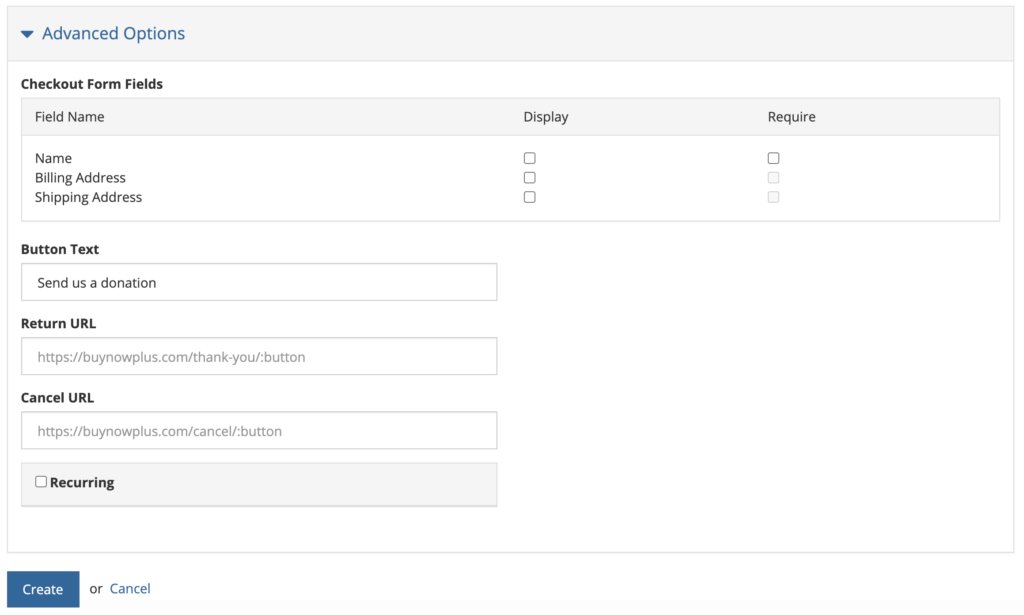
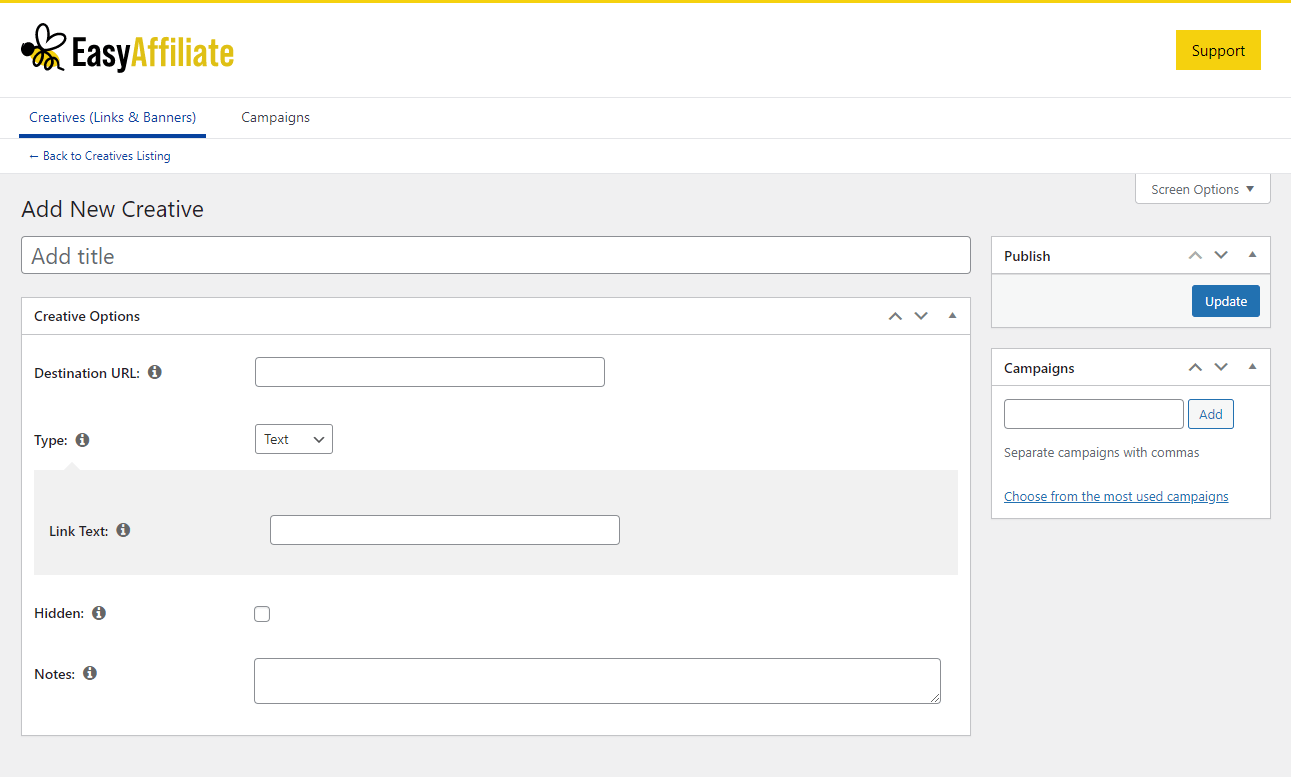
Fortunately, our Buy Now Plus tool enables you to sell your product in just about any digital space:

Buy Now Plus homepage

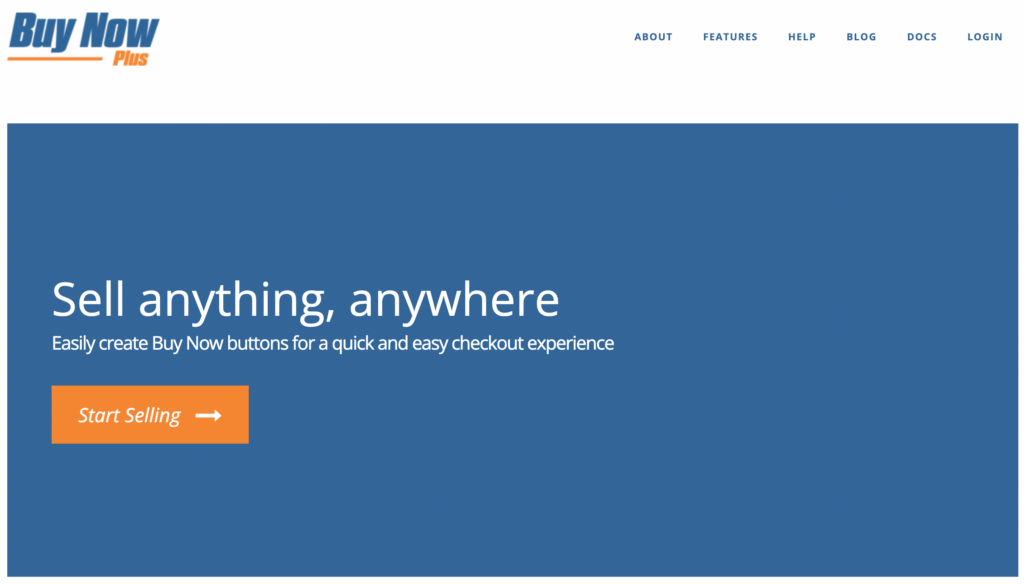
What's more, our buy now buttons enable customers to easily make purchases without needing to sign up for accounts. Therefore, Buy Now Plus can streamline the purchasing process.

You can get started with Buy Now Plus in minutes. All you'll need to do is enter some basic contact information and create an account with Stripe.

After that, you can create your first button. Then, simply copy its link and add it to your new offer page. Make sure to be strategic about where you place it. You may even want to add it in multiple locations.

Step 4: Sign Up for a ClickBank Account

Once your landing page is complete, you're finally ready to sign up for a ClickBank account. To get started, navigate to the ClickBank website and click on any of the Start Here buttons.

This will launch a start-up guide, which we recommend completing:

ClickBank start-up guide.

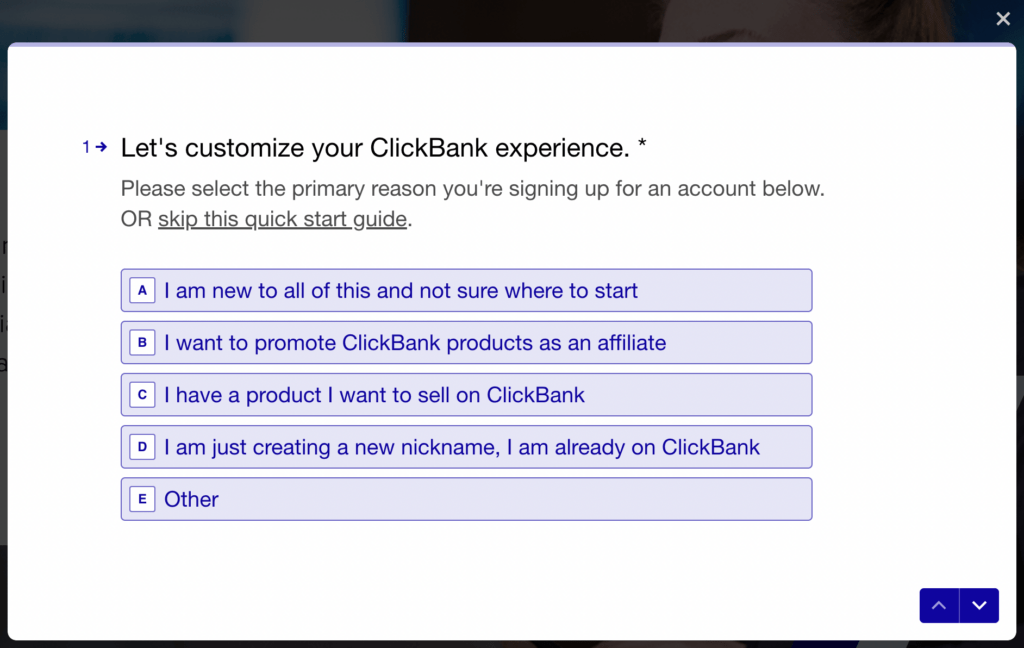
You'll need to choose a reason for signing up on the first screen. You'll most likely want to select I have a product I want to sell on ClickBank.

Next, you'll be asked about how far along you are in the process of creating your offer page:

ClickBank offer page description.

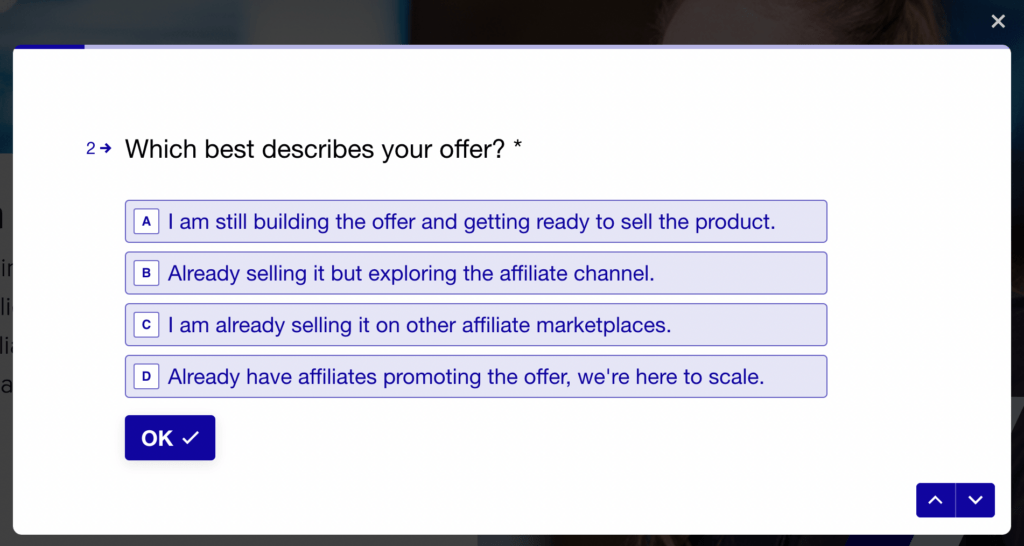
For this tutorial, we'll select I am still building the offer and getting ready to sell the product. With this setting, the site will provide useful advice and resources about the process. You can check them out and tweak your landing page if you like.

Then, proceed through the guide. You'll have to enter more information about your business and experience level.

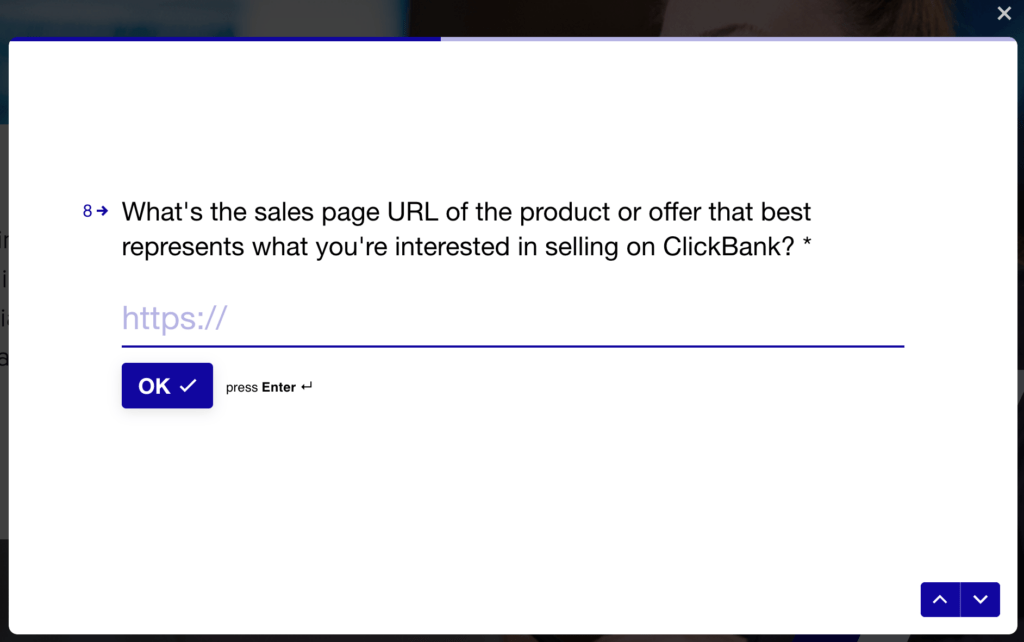
When you get to step eight, you'll be asked about a product page URL. Just make sure to input the URL for your new landing page here:

ClickBank landing page URL.

The last step in the guide will be to enter your email address. After that, you'll be led to a page where you can complete the rest of the signup process.

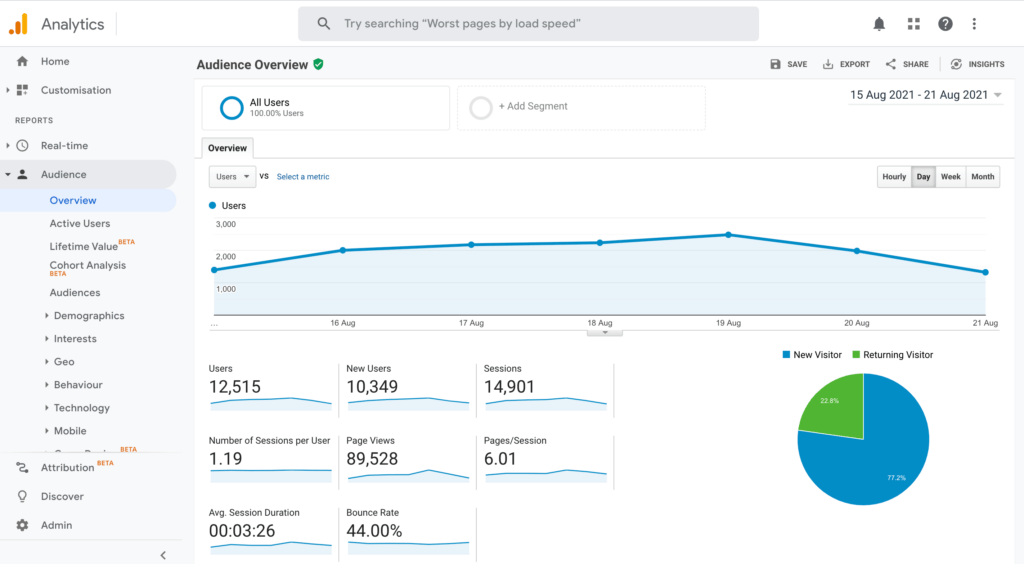
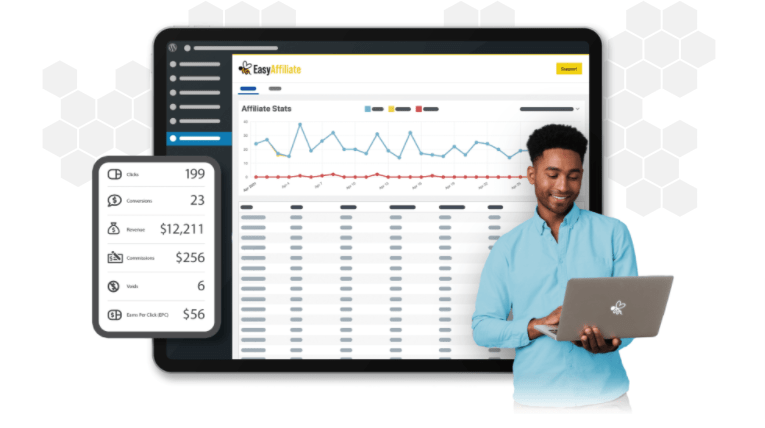
Once you're all set up, it would be wise to familiarize yourself with the dashboard. You may even want to reference ClickBank's guide for getting started as a seller. This covers everything from HopLinks to creating a Thank You page.

Now all that's left to do is enter your product information into the ClickBank marketplace!

Conclusion

If you have a compelling product, ClickBank is a great place to start selling it. However, if you don't have a website yet, you may be worried about how to facilitate your sales. Fortunately, with buy now buttons, you can roll your sales and checkout page into one.

To review, here's how you can make money fast on ClickBank without an eCommerce site:

  1. Identify your product.
  2. Design your offer page.
  3. Create a buy now button using Buy Now Plus.
  4. Sign up for ClickBank.

Do you have any questions about using “buy now” buttons to sell your products on ClickBank? Ask us in the comments section below!

If you liked this post, be sure to follow us on Twitter, Facebook, Pinterest, and LinkedIn.

How to Monetize Your Blog (4 Revenue-Generating Tips)

Thanks to the rise of user-friendly content management systems (CMS) such as WordPress, it’s never been easier to create a blog. However, you may want to convert all of that time and effort into cash at some point. 

Fortunately, there are lots of ways to make money as a blogger. If you’re generating a healthy amount of traffic, you’re in a prime position to turn your visitors into revenue. 

In this post, we’ll discuss why so many people are monetizing their blogs. We’ll then share three of our favorite revenue-generating tips. Let’s get started!

Why You Should Consider Monetizing Your Blog

There are many different reasons why people decide to start a blog. You might have dreamed about monetization all along. Alternatively, perhaps you’re knowledgeable about a particular subject and want to share your passion with the world:

An example of a passion blog about growing succulents.

You might even use your posts as part of a content marketing strategy for a related business. 

Regardless of why you started blogging, running a successful blog requires time and effort. At some point, you may want to be reimbursed for all your hard work.

Blogging can also turn into an expensive hobby. While there are plenty of free tools, you’ll usually end up investing some hard-earned cash into your blog. 

Most commonly, these costs include purchasing web hosting and a domain name. However, you can also incur additional miscellaneous fees.

For example, you may pay for specialist training to help grow your audience. Alternatively, you might run advertising campaigns on popular platforms such as Facebook, Twitter, or Google.

By monetizing your blog, you can recoup some of these costs and perhaps even turn a profit.

While blogging is a hugely competitive industry, it’s still possible to convert a popular site into an additional revenue stream. You might even achieve the ultimate dream and trade your job for a career as a full-time blogger.

How to Monetize Your Blog (4 Revenue-Generating Tips)

If your blog has an audience, there are many ways to convert those visitors into revenue. Here are three ways to earn money from blogging.

1. Use a Paywall Plugin

As with any product, one of the easiest and most straightforward ways to make money off your content is to sell it.

If you have a WordPress site (and what blogger doesn't?), a high-quality paywall plugin is your best bet. The most popular one out there is MemberPress – and for good reason.

The MemberPress homepage.

The plugin is super easy to use, requires no coding, and lets you do things like…

  • Create a new paywalled site
  • Add subscriptions to your existing site
  • Use super customized paywalling with flexible sampling (lead-in, metered, and hard paywalls) like The Wall Street Journal or The New York Times, for example
  • Create and sell online courses
  • Build a dedicated community
  • Accept credit cards and digital wallet payments right on your site

The real beauty of MemberPress is in its Content Protection Rules and Memberships functions.

Through Content Protection Rules, you can really drill down how you monetize your content. You can protect…

  • All content – Your entire website
  • Posts categorized and posts tagged – All content under a specific category or tag
  • Single posts – Any individual post
  • All posts – All posts except those you specify as exempt
  • Custom URIs – Specific URLs (super useful if you want to restrict content like ebooks or digital downloads)
  • Custom post types – Any custom post type you create

MemberPress basically makes your blog work like any of the big, fancy online publications out there. And if you run into any issues with the plugin – or your site in general – reach out to the MemberPress wizards over at WP Tech Support.

2. Become an Affiliate Marketer

As an affiliate marketer, you’ll partner with third-party businesses and promote their products and services via your blog. You’ll earn a commission for all sales originating from your unique affiliate links. 

Affiliate marketing is big business. With annual spending estimated at $12 billion, bloggers have a huge opportunity to make money online. 

A quick search will reveal hundreds of affiliate programs that you can join. To help drive conversions, we recommend searching for a partner or products that will appeal to your existing readership.

If you’re unsure about your audience demographics, then you can learn more about your visitors using a tool such as Google Analytics:

The Google Analytics dashboard.

It’s also wise to feature products related to your blog’s content. For example, if you write about your experiences as a parent, it may make sense to promote baby-themed products.

These relevant promotions will make your affiliate links feel more authentic, which can help drive conversions.

While using affiliate marketing is one of the most popular ways to generate money from blogging, affiliate URLs aren’t always pretty.

These links are often long and complex with obvious tracking codes. They can be off-putting to your readers, who may even wonder whether these odd-looking URLs are spam.

For this reason, we recommend simplifying your affiliate URLs using a link shortener such as the Pretty Links plugin:

Monetize your blog using the Pretty Links plugin.

With Pretty Links, you don't have to worry about lengthy URLs scaring your readers away. Simply enter the target link into the dashboard. Then, the plugin will generate a shorter, neater alternative, ready for you to post to your blog.

3. Enrol in an Advertising Network

Many businesses, including blogs, generate revenue by selling advertising space. There are various ad networks, but Google AdSense is one of the biggest platforms. In fact, it is used by over 38 million blogs and websites.

All of Google’s ads are mobile-responsive, so you can earn revenue regardless of whether readers are using a desktop, smartphone, or tablet.

Google even tailors these adverts based on the visitor’s geographical location, which is great for driving conversions.

There are multiple ways to display Google advertisements on your blog, but WordPress users may want to check out Site Kit. This plugin adds a range of popular Google services to your WordPress dashboard, including Google AdSense:

The Google Site Kit plugin.

After activating and configuring this plugin, you’ll need to wait for Google to approve your blog. However, as soon as you get the go-ahead, it will start displaying ads across your site.

Site Kit will even optimize your advertisements automatically by determining their optimal sizes, types, and placements. With this tool, you can avoid alienating your readers by displaying intrusive or irrelevant adverts. 

4. Add Buy Now Buttons to Your Blog Posts

Some of the biggest websites in the world use buy now buttons to encourage visitors to make a purchase. These buttons simplify the purchasing process by enabling customers to jump straight to checkout:

An example of a buy now button.

Although they’re commonly associated with ecommerce giants such as Amazon and eBay, you can add buy now buttons to your blog posts. If you sell products or services in addition to writing articles, these buttons can convert your readers into customers.

Alternatively, you can use buy now buttons to promote your affiliate URLs if you're part of an affiliate network. 

Even if you don’t have any products to promote, you can still monetize your site using buy now buttons. Many writers publish blogs for free but ask visitors to donate if they enjoyed the content.

If you create your buttons using a flexible service such as our Buy Now Plus plugin, then it’s easy to transform them into donation prompts: 

The Buy Now Plus dashboard.

By simply changing the button’s label, you can start accepting donations. Buy Now Plus even supports variable pricing, so your readers can choose how much money to send you. This flexibility may result in more contributions. 

Conclusion

Creating a successful blog takes time and dedication. At some point, you may want to be reimbursed for all of your hard work. 

Let’s quickly recap three ways to monetize your blog:

  1. Become an affiliate marketer, using a plugin such as Pretty Links.
  2. Enrol in an advertising network.
  3. Add buy now buttons to your blog posts, with our Buy Now Plus service.

Do you have any questions about how to make money as a blogger? Let us know in the comments section below!

If you liked this post, be sure to follow us on Twitter, Facebook, and LinkedIn.

How to Start Your Own Affiliate Marketing Program (In 3 Steps)

It might seem like influencers are everywhere these days. However, you're not just seeing things – working with these representatives is a popular and effective way to promote a brand.

You might be wondering how to leverage this power by starting your own affiliate marketing program.

Fortunately, the process doesn't have to be difficult. By following a few best practices and focusing on the essential elements, you can build a profitable affiliate program for your brand.

In this article, we'll cover a few reasons you might want to consider starting an affiliate marketing program. Then we'll show you how to create your own in three simple steps. Let's get to it!

Why You Might Want to Start an Affiliate Marketing Program

An affiliate marketing program is a network of influencers. You connect with respected people within your niche, and they promote your products to their followers. In return, you pay them a commission from any resulting sales.

There are many benefits to running an affiliate program. For one thing, it's a simple way to spread the word about your products. You also don't have to pay unless a sale is made, so using influencers is cost-effective.

Influencers also get a lucrative deal. On top of commissions, affiliate links can be a passive and flexible income stream.

That means these marketers can promote your content even if they've shifted to remote work. Additionally, the influencer's audience might appreciate an informed recommendation.

With advantages for all parties, it's no wonder that affiliate marketing is a booming business. Statistics show that this market is expected to reach a value of nearly $8.2 billion by 2022. That means getting started now will be an investment in your brand's future.

How to Start Your Own Affiliate Marketing Program (In 3 Steps)

We'll now use this simple guide as a kickstart for affiliate marketing. If you're interested in promoting your business with affiliate marketing, chances are you already have a website up and running.

If not, you'll need a basic WordPress site ready before you get started with the Easy Affiliate plugin, which we'll be using in this tutorial.

Step 1: Install and Activate Easy Affiliate

Starting an affiliate marketing program can be a bit complex. It can be hard to juggle links, payments, and ads.

That's why we highly recommend you use an affiliate program management product, such as Easy Affiliate, to take care of everything for you:

Easy Affiliate homepage.

Easy Affiliate enables you to host your affiliate program on a WordPress site. It's a simple way to integrate referral marketing infrastructure into your page.

Some other powerful features that you'll unlock with Easy Affiliate include:

  • Detailed progress reports to help you perfect your approach
  • Email marketing to spread the word about your program
  • One-click payouts to make commissions easy for you and your influencers

Additionally, Easy Affiliate doesn't charge any transaction fees. Once you purchase your plan, there are no additional hidden costs. The only per-transaction fee you'll pay is to PayPal, which the plugin uses to process payments.

The program also carries a 14-day money-back guarantee, so it's safe to give it a try if you're on the fence.

First you'll want to decide on your pricing plan. The options are Basic, Plus, and Pro. We suggest starting with Basic if you're new to affiliate marketing. However, Plus and Pro might also be worth considering if you have a few sites.

After you've made your choice, download Easy Affiliate. Be sure to grab your license key as well, because you'll need it to receive crucial plugin updates. Then install and activate the plugin.

You might also want to take some time at this point to consider your strategy. Understanding the essential elements for affiliate beginners can set you up for success.

Step 2: Customize Your Main Settings

Before you get started, there are a few settings you'll want to adjust. We'll take you through the most important ones. However, you might want to thumb through Easy Affiliate's helpful articles for more information.

Let's begin with the basic settings. You can find them in your WordPress dashboard under Easy Affiliate > Settings. Your screen will differ slightly depending on your plan:

The main settings for Easy Affiliate.

If you'd rather use the built-in setup wizard, simply scroll down to the bottom of the page to find that option. You can also add elements such as your basic business info.

If you keep scrolling, you'll find an option to decide which pages will act as your affiliate pages. These pages will generate automatically when you add Easy Affiliate. However, you can also edit them from this area.

Next up, we'll take a look at the Commissions tab:

The Easy Affiliate commissions tab under settings..

Here you'll decide on your affiliate program commission structure.

You can choose to pay out commissions as a percentage of sales or as a fixed rate. Your payout settings are also in this tab. Feel free to take your time here – payments are essential for both you and your influencers.

If you want to add integrations, check out the Ecommerce and Integrations tabs. For example, you can set up one-click PayPal functions under Ecommerce.

Finally, head over over to the Advanced tab:

The Easy Affiliate advanced settings tab.

It has several useful fields, but we'll focus on the essentials for now. We encourage you to set up email notifications to keep affiliates in the loop.

Additionally, you'll need to adjust international settings if you work on a global level.

Step 3: Prepare Resources for Your Affiliates

Finally, let's get to the heart of your program: your affiliates! Supporting your influencers is the best way to help them succeed.

On top of showing them how to do things like accept credit cards without a website, you can also provide other resources.

Remain on the page from the last step. This time, navigate to the Affiliates tab:

The Affiliate tab for Easy Affiliates.

First up is Registration Type. This is where you'll determine whether affiliates can join automatically, will need to apply, or will need direct administrative approval.

For your first program, we recommend requiring an application. This will help you screen for the best candidates directly.

The Form Fields section enables you to decide what information you'll collect from influencers. You can also make it so that users are automatically added as affiliates – which is perfect if you've built your WordPress site solely for your program.

Finally, you can change the affiliate dashboard. We suggest that you take the time to add your brand's colors and a custom welcome message. Doing so is a simple yet essential part of any new website branding checklist.

Next up, we'll change gears. Easy Affiliate enables you to expand your brand with professional-looking links and banners. Go to Easy Affiliate > Creatives > Add New:

The creative creation screen for Easy Affiliates.

Simply fill in the fields to create your new link. If you'd like to add a visual element, choose Banner from the Type drop-down menu. You'll then see an option to upload an image.

Try to make several links and banners. This can help make your marketing varied yet consistent. Once you've made a few creative assets, you can provide them to affiliates so they can advertise your business in places such as their social media accounts.

Conclusion

Affiliate marketing spending is on the rise. That means there's a lot of potential for using influencers to advertise your company. Fortunately, starting your own affiliate marketing program can be simple with the right tools.

In this article, we showed you three steps to begin your affiliate program:

  1. Choose and install a pricing plan from Easy Affiliate.
  2. Customize the main settings, such as the commission structure.
  3. Help your influencers succeed with a clear structure and dynamic assets.

Do you have any questions about starting your own affiliate marketing program? Let us know in the comments section below!

If you liked this post, be sure to follow us on Twitter, Facebook, and LinkedIn.

css.php