It might seem like influencers are everywhere these days. However, you're not just seeing things – working with these representatives is a popular and effective way to promote a brand.
You might be wondering how to leverage this power by starting your own affiliate marketing program.
Fortunately, the process doesn't have to be difficult. By following a few best practices and focusing on the essential elements, you can build a profitable affiliate program for your brand.
In this article, we'll cover a few reasons you might want to consider starting an affiliate marketing program. Then we'll show you how to create your own in three simple steps. Let's get to it!
Why You Might Want to Start an Affiliate Marketing Program
An affiliate marketing program is a network of influencers. You connect with respected people within your niche, and they promote your products to their followers. In return, you pay them a commission from any resulting sales.
There are many benefits to running an affiliate program. For one thing, it's a simple way to spread the word about your products. You also don't have to pay unless a sale is made, so using influencers is cost-effective.
Influencers also get a lucrative deal. On top of commissions, affiliate links can be a passive and flexible income stream.
That means these marketers can promote your content even if they've shifted to remote work. Additionally, the influencer's audience might appreciate an informed recommendation.
With advantages for all parties, it's no wonder that affiliate marketing is a booming business. Statistics show that this market is expected to reach a value of nearly $8.2 billion by 2022. That means getting started now will be an investment in your brand's future.
How to Start Your Own Affiliate Marketing Program (In 3 Steps)
We'll now use this simple guide as a kickstart for affiliate marketing. If you're interested in promoting your business with affiliate marketing, chances are you already have a website up and running.
If not, you'll need a basic WordPress site ready before you get started with the Easy Affiliate plugin, which we'll be using in this tutorial.
Step 1: Install and Activate Easy Affiliate
Starting an affiliate marketing program can be a bit complex. It can be hard to juggle links, payments, and ads.
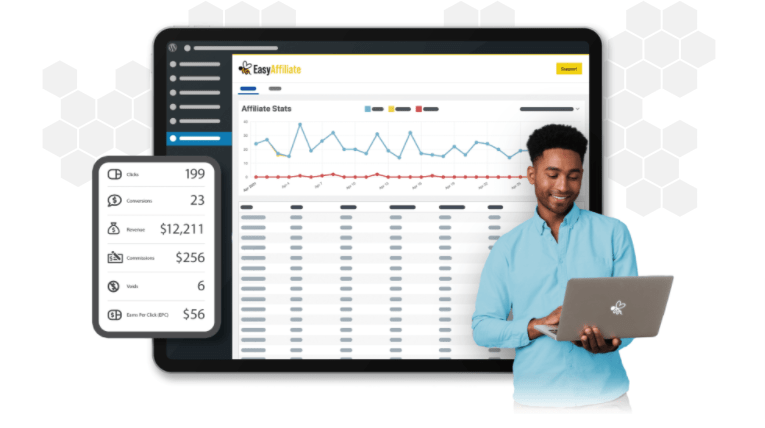
That's why we highly recommend you use an affiliate program management product, such as Easy Affiliate, to take care of everything for you:
Easy Affiliate enables you to host your affiliate program on a WordPress site. It's a simple way to integrate referral marketing infrastructure into your page.
Some other powerful features that you'll unlock with Easy Affiliate include:
- Detailed progress reports to help you perfect your approach
- Email marketing to spread the word about your program
- One-click payouts to make commissions easy for you and your influencers
Additionally, Easy Affiliate doesn't charge any transaction fees. Once you purchase your plan, there are no additional hidden costs. The only per-transaction fee you'll pay is to PayPal, which the plugin uses to process payments.
The program also carries a 14-day money-back guarantee, so it's safe to give it a try if you're on the fence.
First you'll want to decide on your pricing plan. The options are Basic, Plus, and Pro. We suggest starting with Basic if you're new to affiliate marketing. However, Plus and Pro might also be worth considering if you have a few sites.
After you've made your choice, download Easy Affiliate. Be sure to grab your license key as well, because you'll need it to receive crucial plugin updates. Then install and activate the plugin.
You might also want to take some time at this point to consider your strategy. Understanding the essential elements for affiliate beginners can set you up for success.
Step 2: Customize Your Main Settings
Before you get started, there are a few settings you'll want to adjust. We'll take you through the most important ones. However, you might want to thumb through Easy Affiliate's helpful articles for more information.
Let's begin with the basic settings. You can find them in your WordPress dashboard under Easy Affiliate > Settings. Your screen will differ slightly depending on your plan:
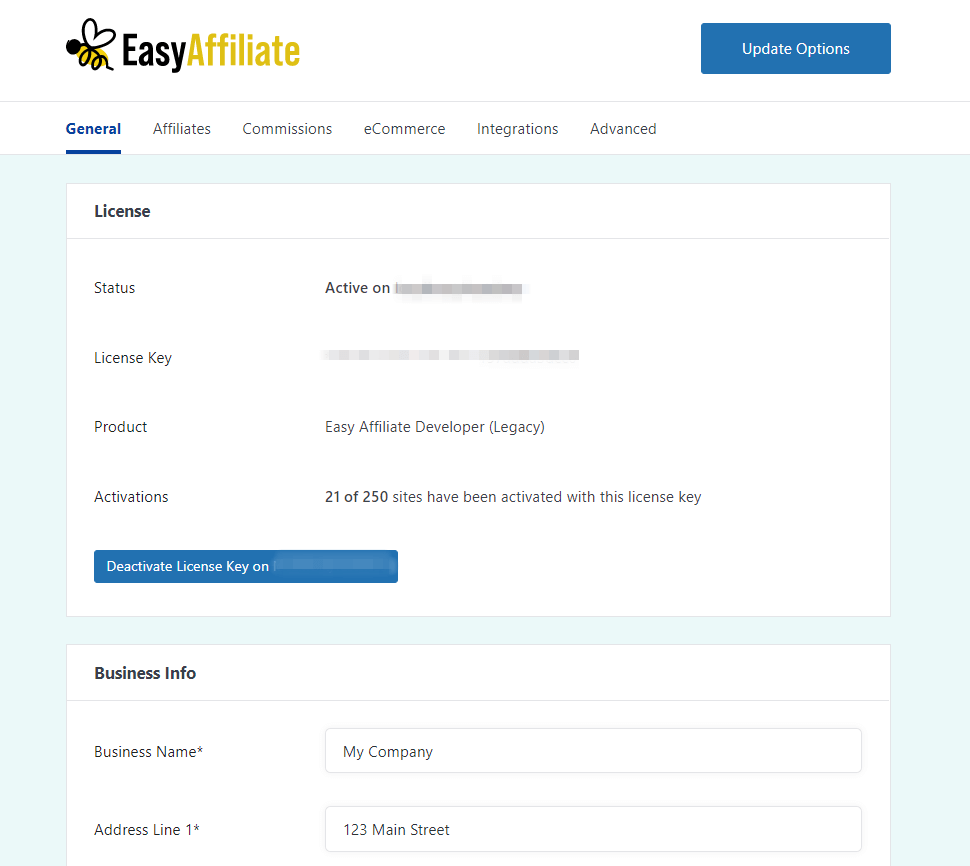
If you'd rather use the built-in setup wizard, simply scroll down to the bottom of the page to find that option. You can also add elements such as your basic business info.
If you keep scrolling, you'll find an option to decide which pages will act as your affiliate pages. These pages will generate automatically when you add Easy Affiliate. However, you can also edit them from this area.
Next up, we'll take a look at the Commissions tab:
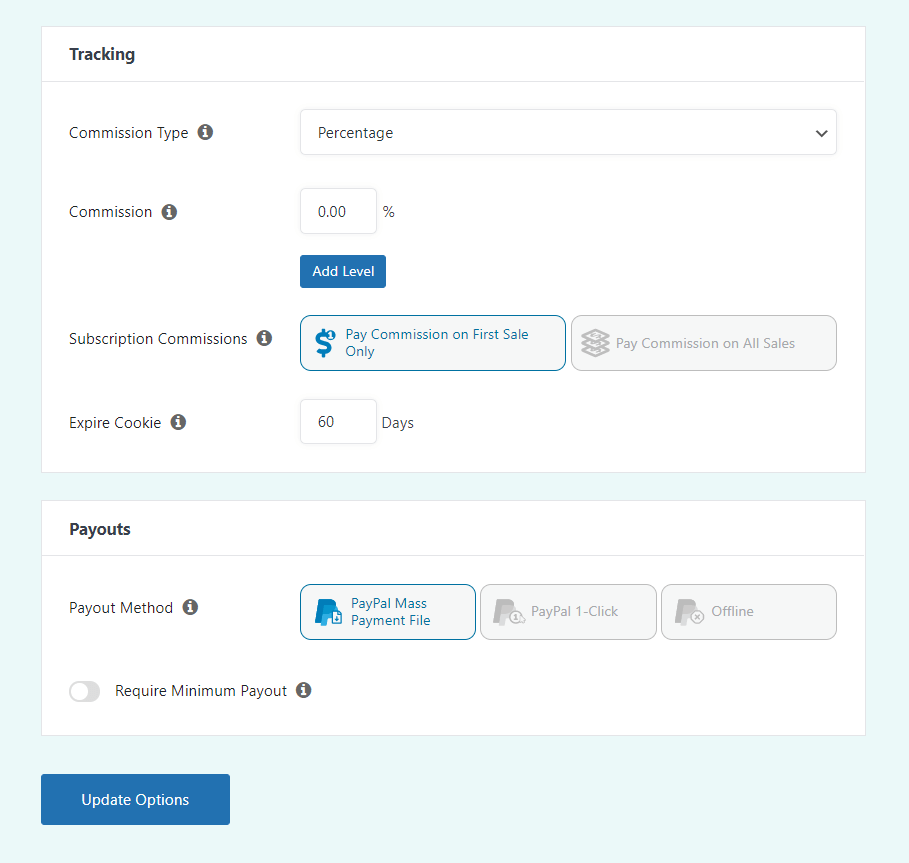
Here you'll decide on your affiliate program commission structure.
You can choose to pay out commissions as a percentage of sales or as a fixed rate. Your payout settings are also in this tab. Feel free to take your time here – payments are essential for both you and your influencers.
If you want to add integrations, check out the Ecommerce and Integrations tabs. For example, you can set up one-click PayPal functions under Ecommerce.
Finally, head over over to the Advanced tab:
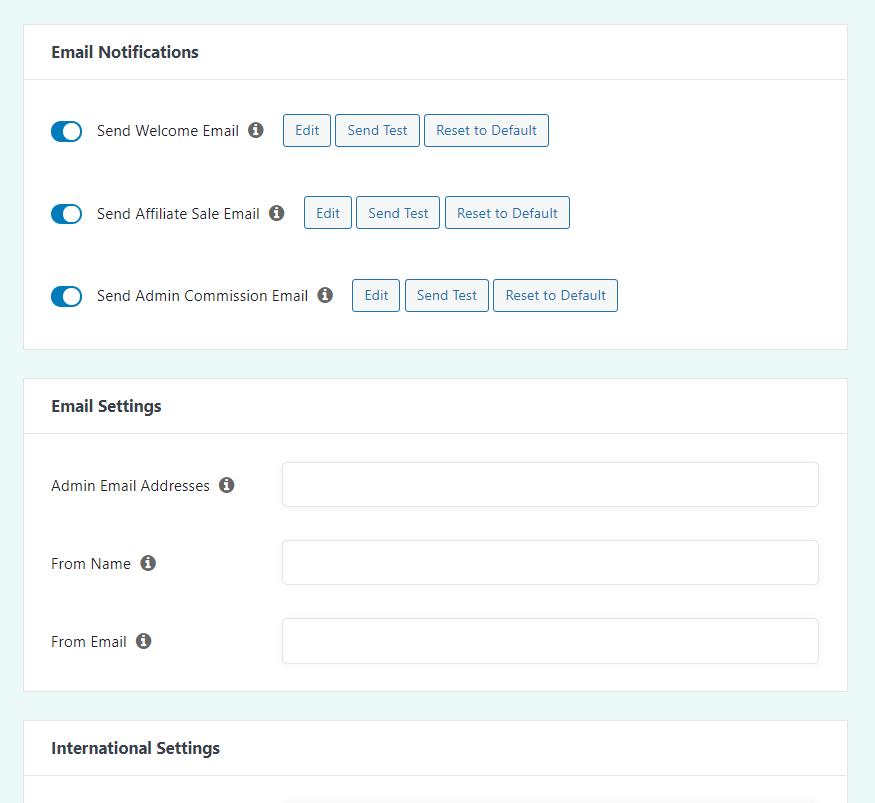
It has several useful fields, but we'll focus on the essentials for now. We encourage you to set up email notifications to keep affiliates in the loop.
Additionally, you'll need to adjust international settings if you work on a global level.
Step 3: Prepare Resources for Your Affiliates
Finally, let's get to the heart of your program: your affiliates! Supporting your influencers is the best way to help them succeed.
On top of showing them how to do things like accept credit cards without a website, you can also provide other resources.
Remain on the page from the last step. This time, navigate to the Affiliates tab:
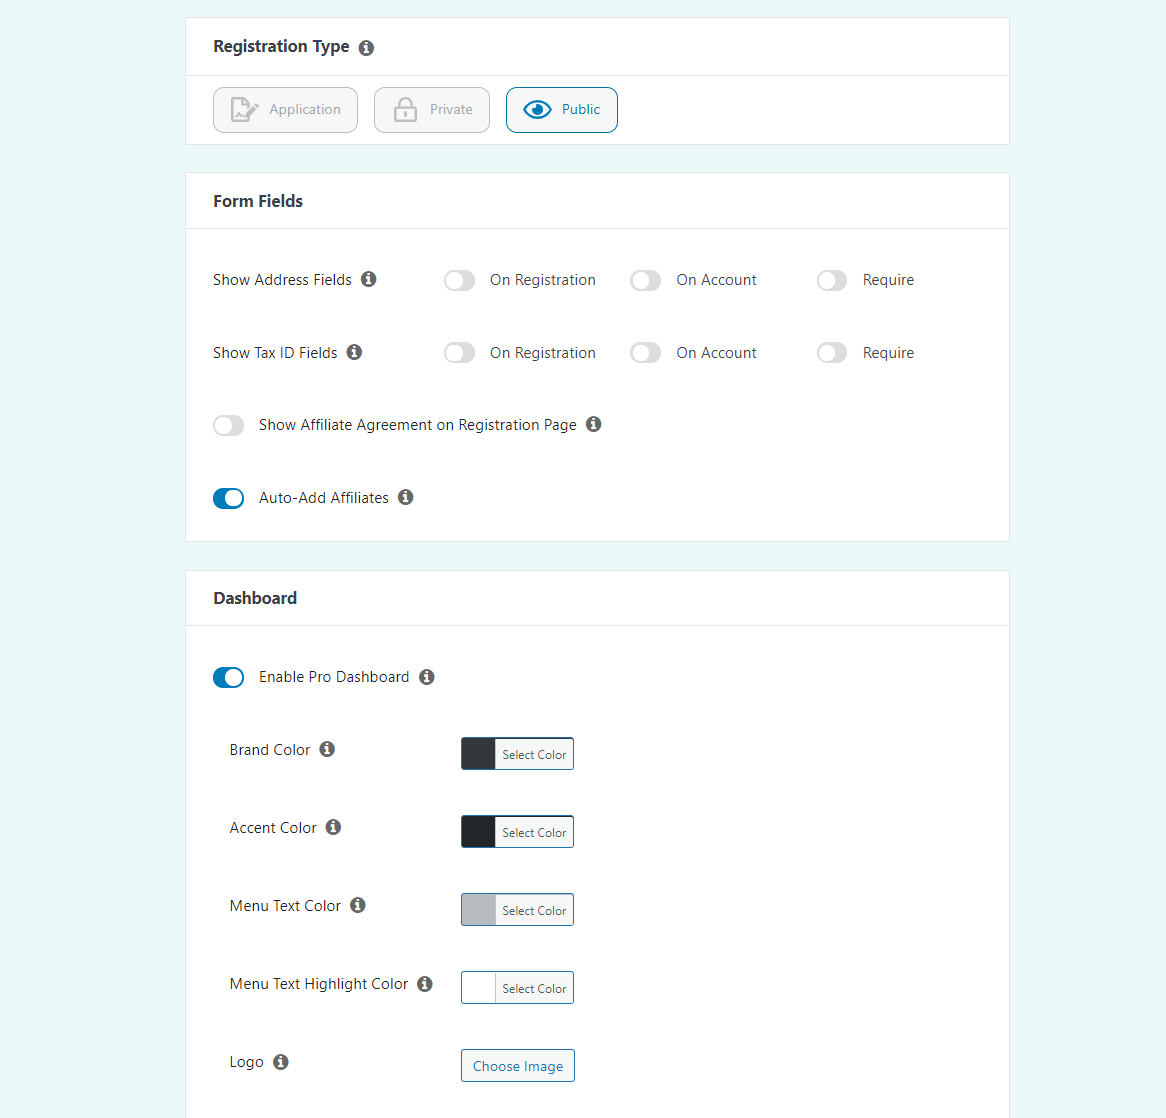
First up is Registration Type. This is where you'll determine whether affiliates can join automatically, will need to apply, or will need direct administrative approval.
For your first program, we recommend requiring an application. This will help you screen for the best candidates directly.
The Form Fields section enables you to decide what information you'll collect from influencers. You can also make it so that users are automatically added as affiliates – which is perfect if you've built your WordPress site solely for your program.
Finally, you can change the affiliate dashboard. We suggest that you take the time to add your brand's colors and a custom welcome message. Doing so is a simple yet essential part of any new website branding checklist.
Next up, we'll change gears. Easy Affiliate enables you to expand your brand with professional-looking links and banners. Go to Easy Affiliate > Creatives > Add New:
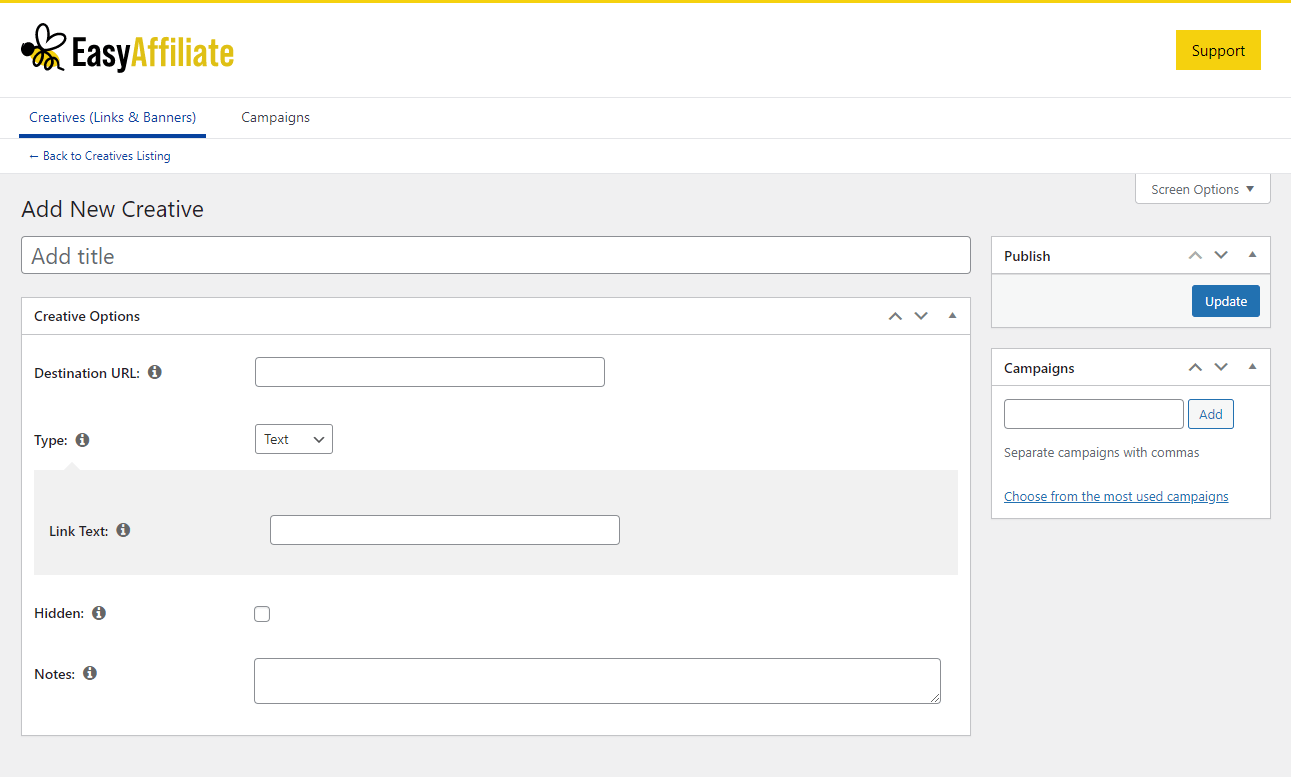
Simply fill in the fields to create your new link. If you'd like to add a visual element, choose Banner from the Type drop-down menu. You'll then see an option to upload an image.
Try to make several links and banners. This can help make your marketing varied yet consistent. Once you've made a few creative assets, you can provide them to affiliates so they can advertise your business in places such as their social media accounts.
Conclusion
Affiliate marketing spending is on the rise. That means there's a lot of potential for using influencers to advertise your company. Fortunately, starting your own affiliate marketing program can be simple with the right tools.
In this article, we showed you three steps to begin your affiliate program:
- Choose and install a pricing plan from Easy Affiliate.
- Customize the main settings, such as the commission structure.
- Help your influencers succeed with a clear structure and dynamic assets.
Do you have any questions about starting your own affiliate marketing program? Let us know in the comments section below!
If you liked this post, be sure to follow us on Twitter, Facebook, and LinkedIn.