How to Accept Credit Cards Without a Website

Would you like to accept credit cards from your customers, but you don't have a website? No problem! As long as you have a social media account and a bank account, you can take credit card payments with Buy Now Plus.

In this post, we’ll discuss why accepting credit cards is crucial to running a successful business. Then we’ll show you how easy it is to use this payment method with Buy Now Plus. Let’s get started! 

Why It’s Important to Accept Credit Card Payments

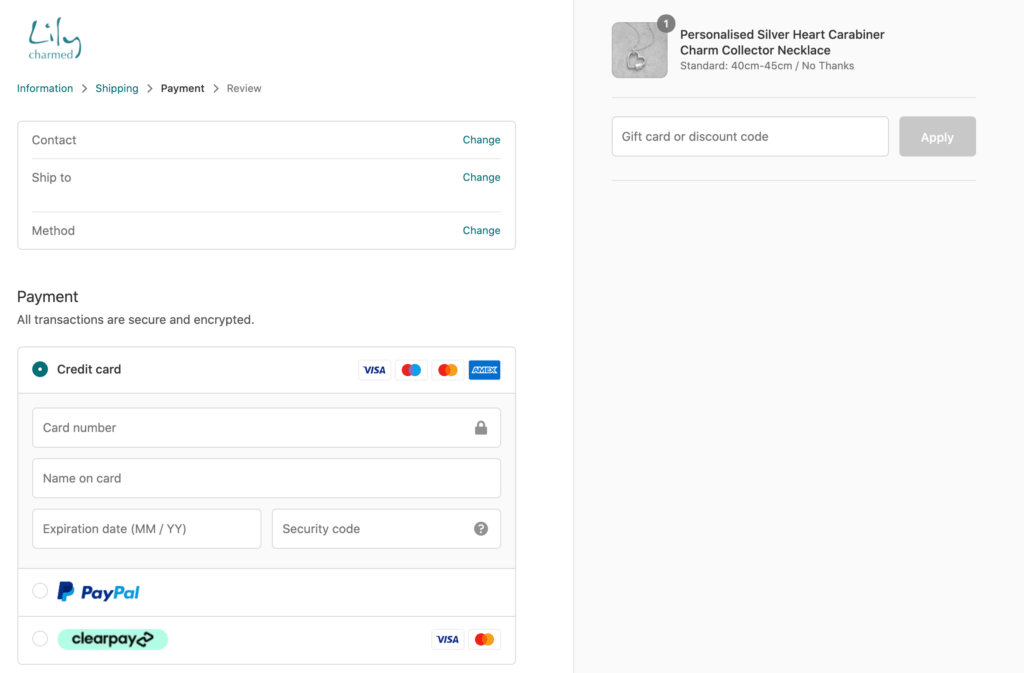
Credit cards are the most popular payment method in the United States. If your business doesn’t accept card payments, then you could be alienating the majority of your audience and losing potential sales.

If your customers can't make a purchase using their preferred payment methods, they may go elsewhere. To maximize your sales, it’s important to support as many different payment methods as possible.

The method we always recommend prioritizing? Credit cards.

Many e-commerce sites accept credit card payments.

Despite the popularity of paying by credit card, some businesses may be reluctant to support card payments due to the associated fees. For every credit card transaction, you’ll have to pay interchange fees, assessment or service fees, and the payment processor’s markup.

These transaction fees can seem off-putting, particularly for small businesses and startups that may be operating on tighter budgets. However, if you don’t accept credit cards, you're shrinking your customer pool.

It’s far better to sacrifice a percentage of a successful sale than to lose out on that sale entirely. Plus, if your checkout process is more accessible, you're more likely to boost your profits, grow your customer base, and secure repeat sales.

How to Accept Credit Card Payments Without a Website Using Buy Now Plus

Buy Now Plus is a free service you can use to accept payments without purchasing and installing SSL certificates. You only get charged if you make a sale. And that charge is only 3% – super low compared to the industry standard for similar services, which is between 4% and 5%.

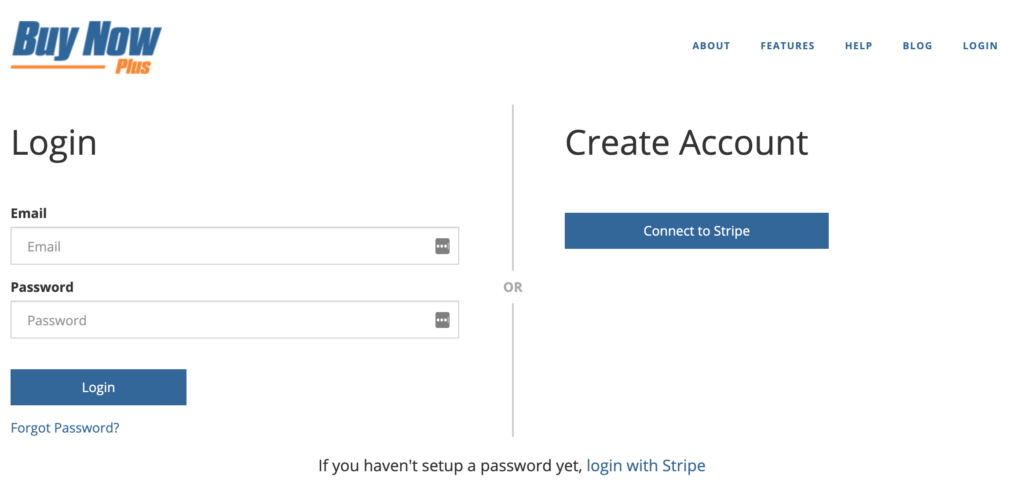
The best part is that it works right on top of the Stripe payment processor. That means to get set up, all you have to do is head to BuyNowPlus.com, and click the Start Selling button:

Buy Now Plus homepage

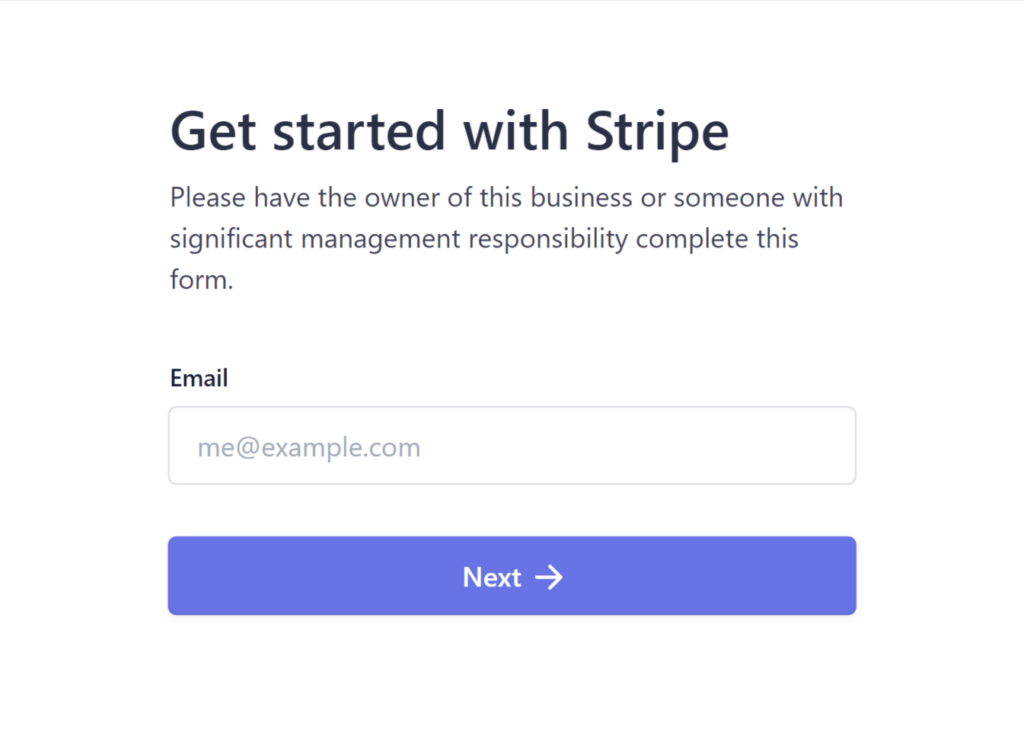
Clicking the Start Selling button will open the Getting Started form. If you already have a Stripe account, you'll be able to login and connect it to Buy Now Plus.

If you don't have a Stripe account, just enter your email and click Next to get your free account set up:

Get started with Stripe in Buy Now Plus

On the next page, create a password for your new Stripe account, and click Next:

create a free Stripe account in Buy Now Plus

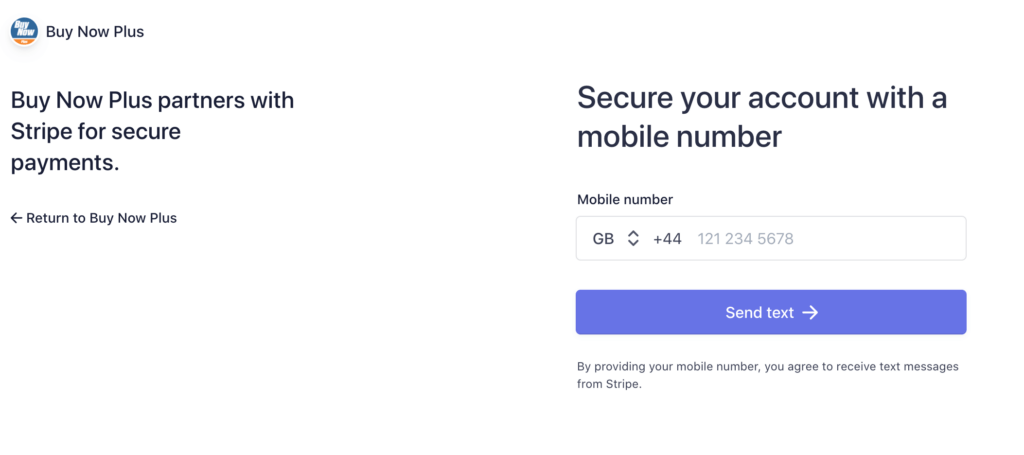
In the next step, you'll secure your account by adding your cell phone number:

Secure your Stripe account in Buy Now Plus

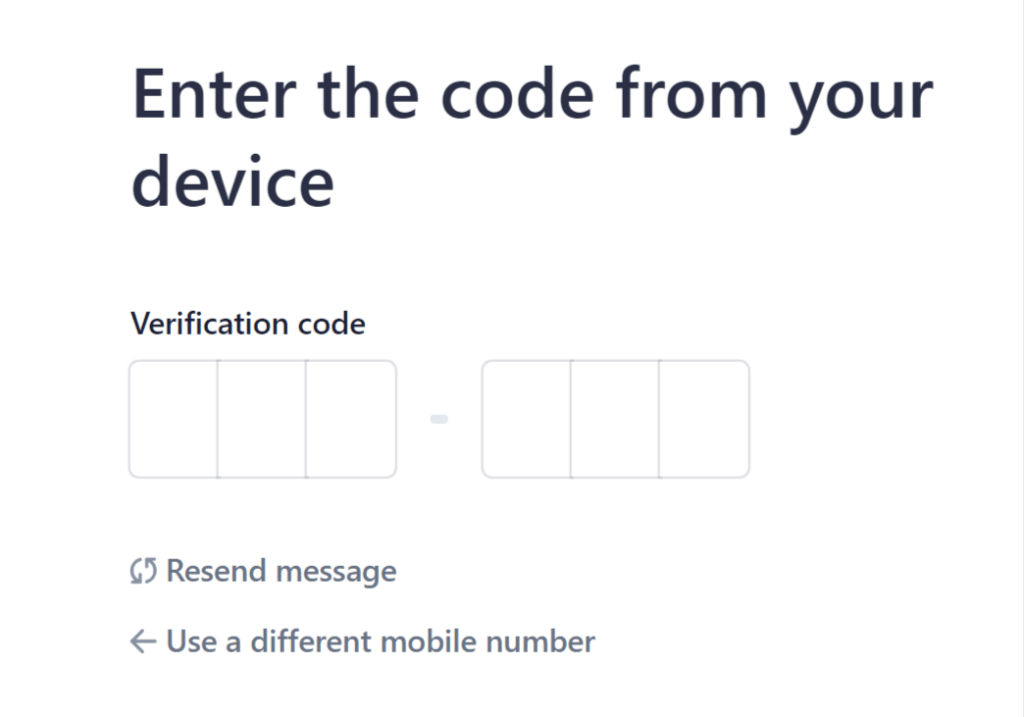
You'll get a text with a special code, which you'll then enter for verfication:

Enter the code from your device in buy now plus

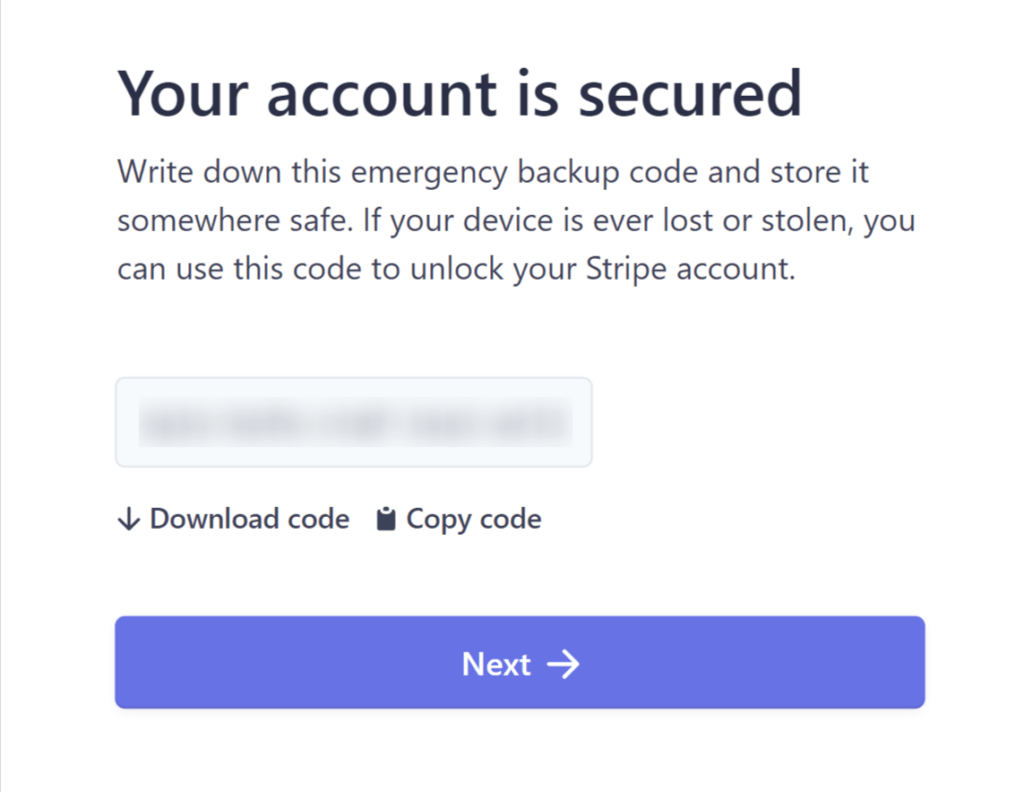
If verification is successful, you'll get a confirmation that your new Stripe account is secured. The confirmation will also include an emergency backup code you can use if your device is lost or stolen. You'll definitely want to copy that code and keep it in a safe place.

Once you've got your backup code stored away safely, click Next:

Stripe account is secured in Buy Now Plus

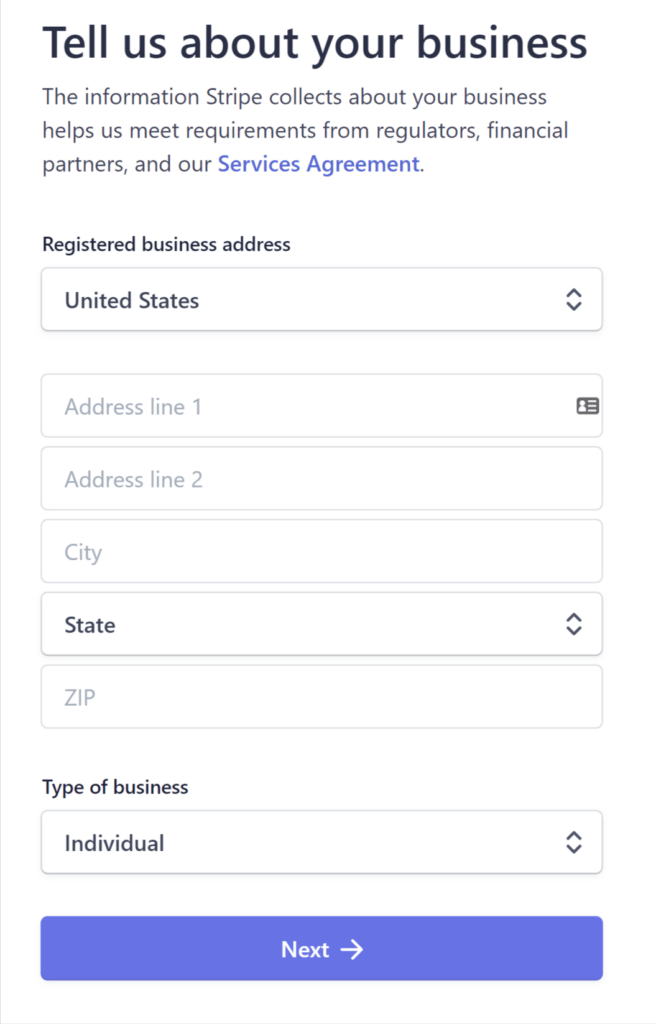
In this step, you'll give some basic information about your business. If your business doesn't have a physical address, just enter your home address, then click Next:

Tell us about your business in Buy Now Plus

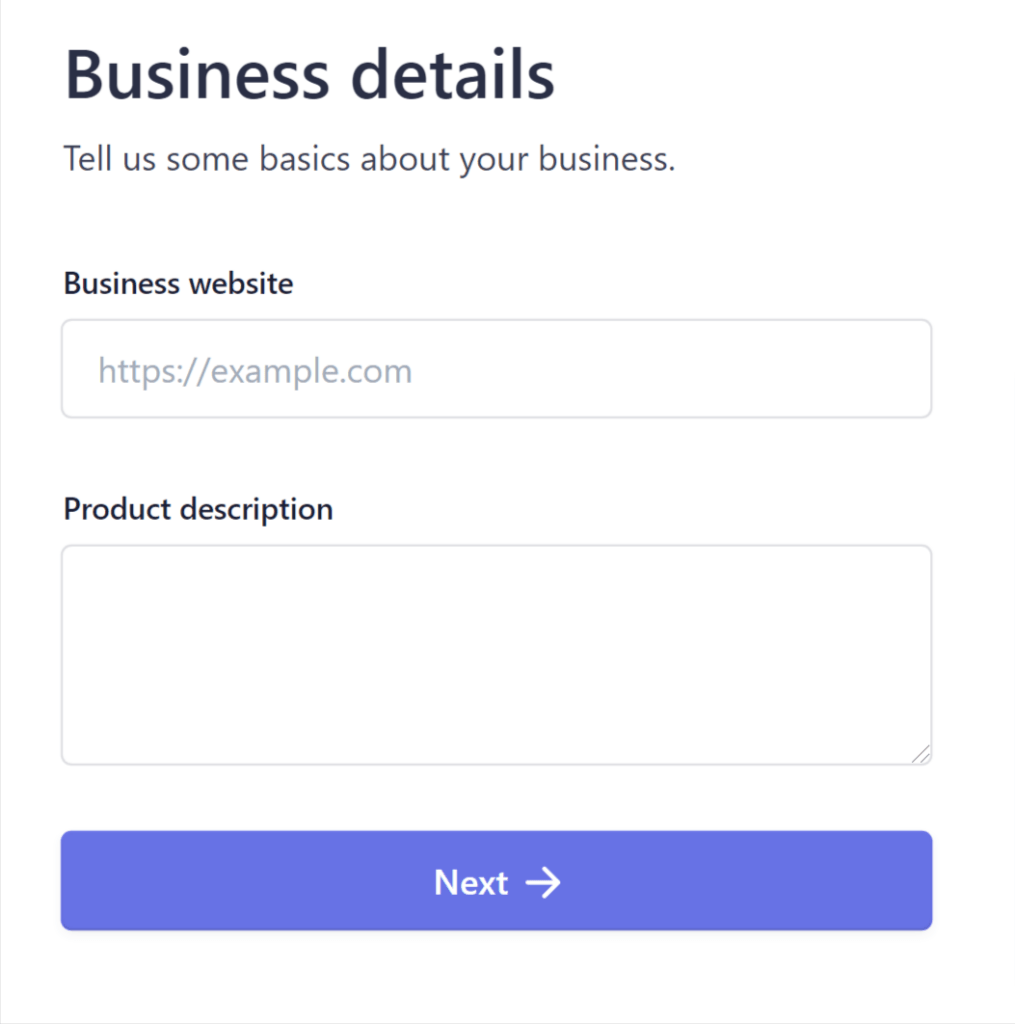
Now you'll enter a few additional details about your business. The first field asks for your business website. But don't worry. You can enter your social media profile address if you don't have a business website.

Then enter a short product description and click Next:

Business details in Buy Now Plus

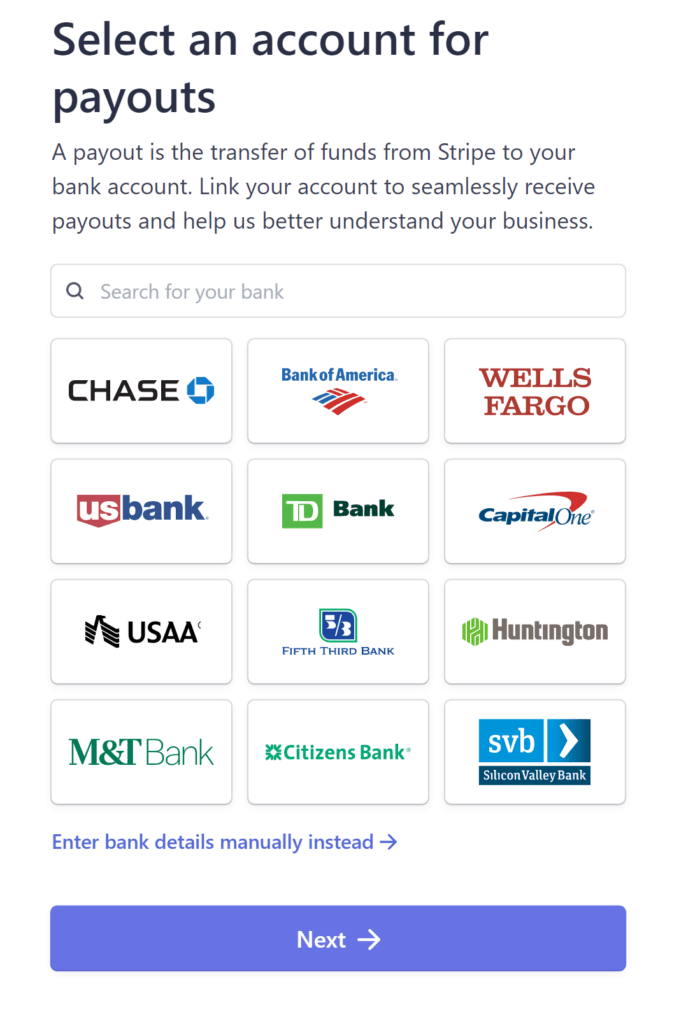
Now you'll choose a bank account where your payments will be deposited. First search for your bank in the search field. If it doesn't pop up, you can enter your bank's details manually by clicking the link at the bottom of the screen.

Once that's all set, click Next:

Select an account for Stripe payouts in Buy Now Plus

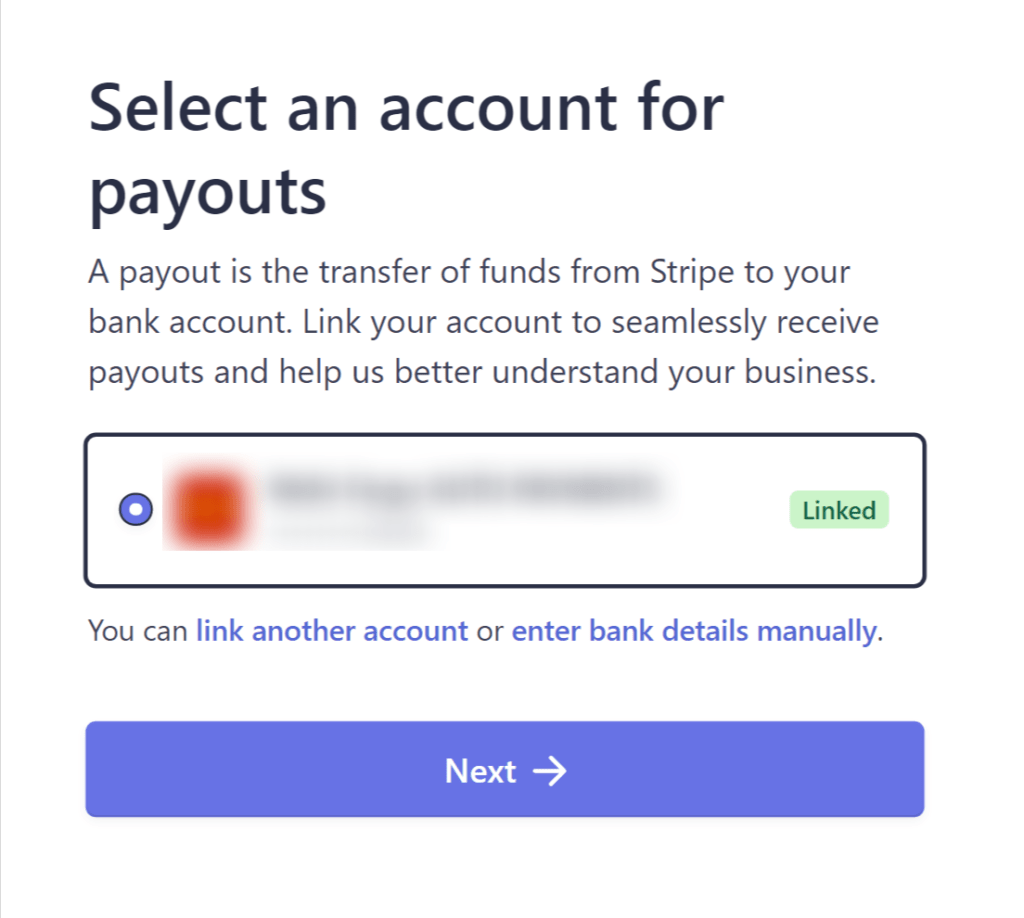
The next screen will verify that your bank account is linked to your new Stripe account. If everything looks good, click Next:

bank linked verification page in Buy Now Plus

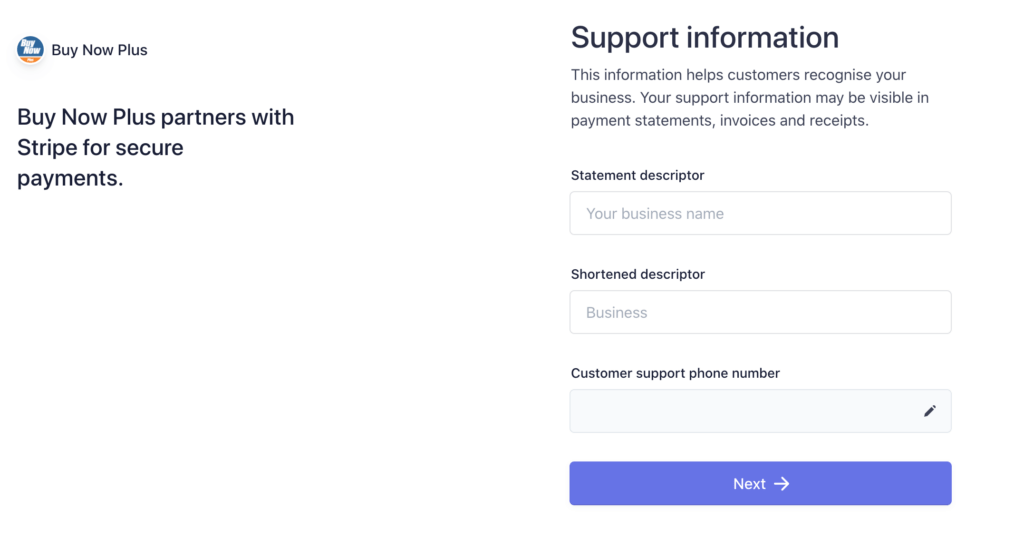
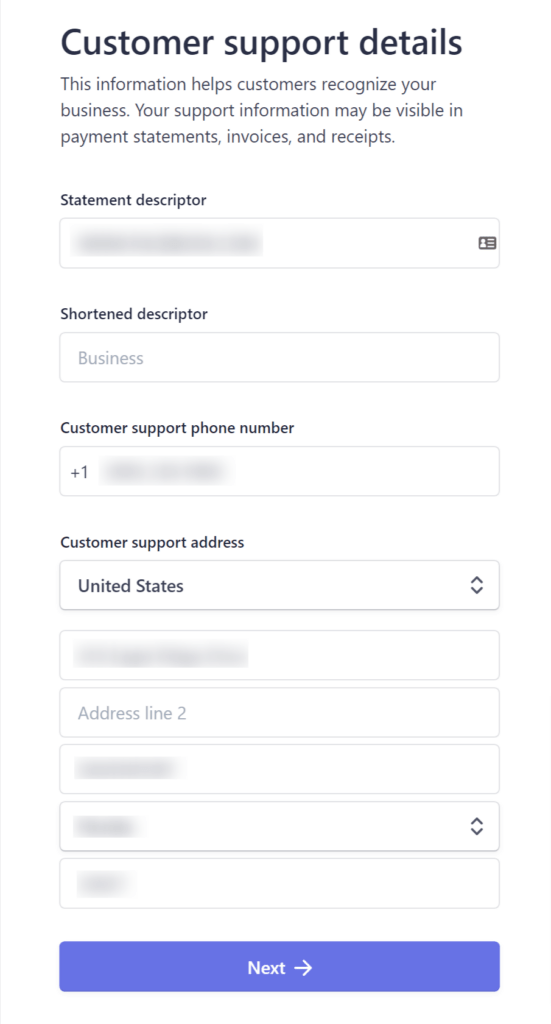
In this step you'll enter your customer support details. One of these details is a “descriptor” that will appear on a customer's credit card statement to help them identify the charge.

For example, if your business name is ABC Plumbing, you could simply enter “ABC Plumbing” in this field. In the shortened descriptor field, you might enter just “ABC” or “Plumbing”.

Now you'll enter your business address and phone number. Again, just use your home address and cell number if that's what you use for business. Then click Next, and your Stripe account will be all set:

customer support details in Buy Now Plus

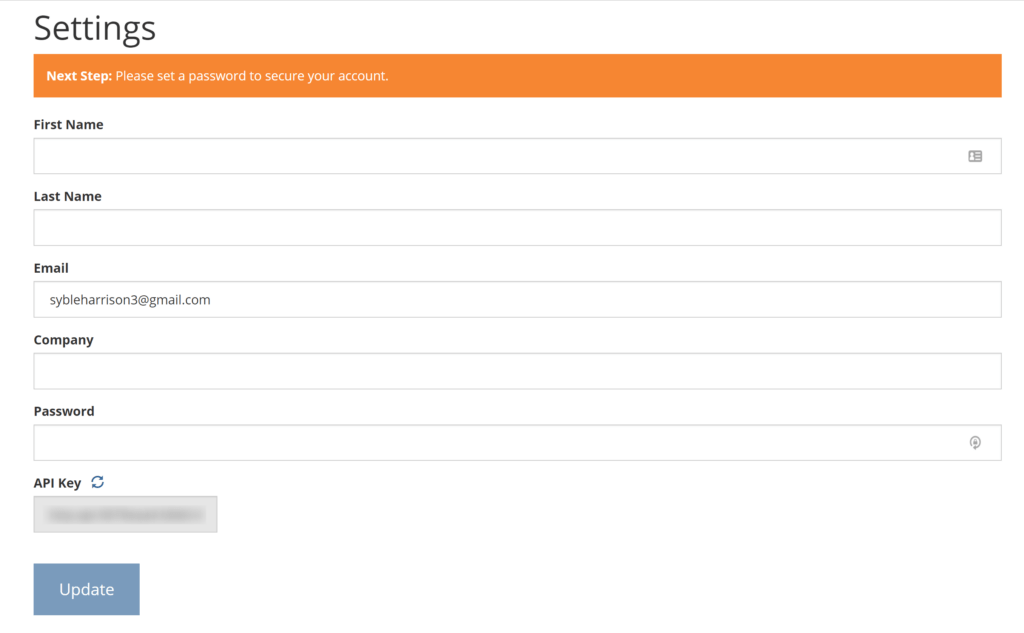
On the next page you'll configure your Buy Now Plus settings. Just make sure the form includes your name, email, and company name. Then create a password, and click Update:

Buy Now Plus account settings

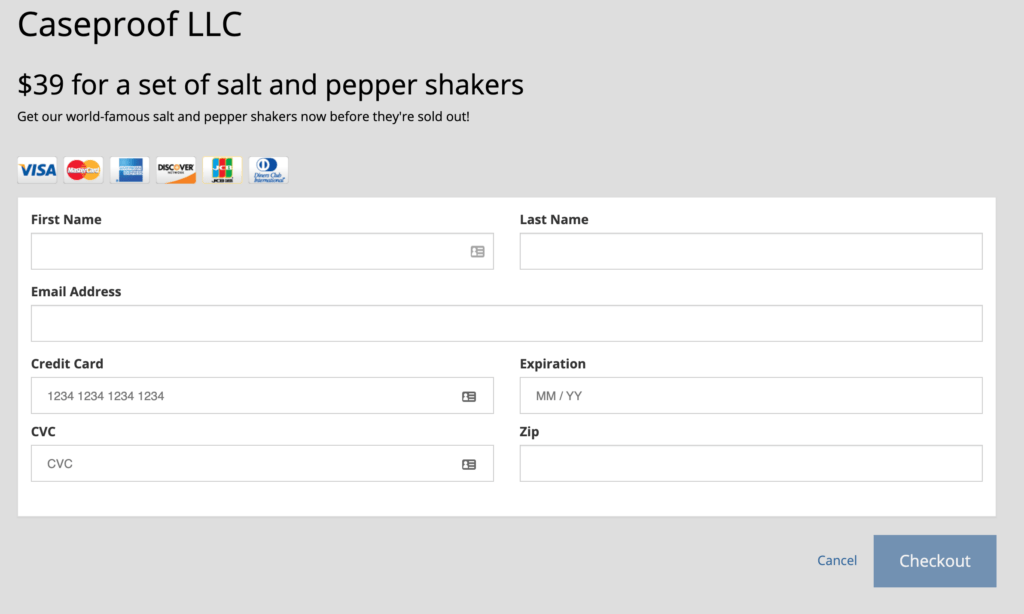
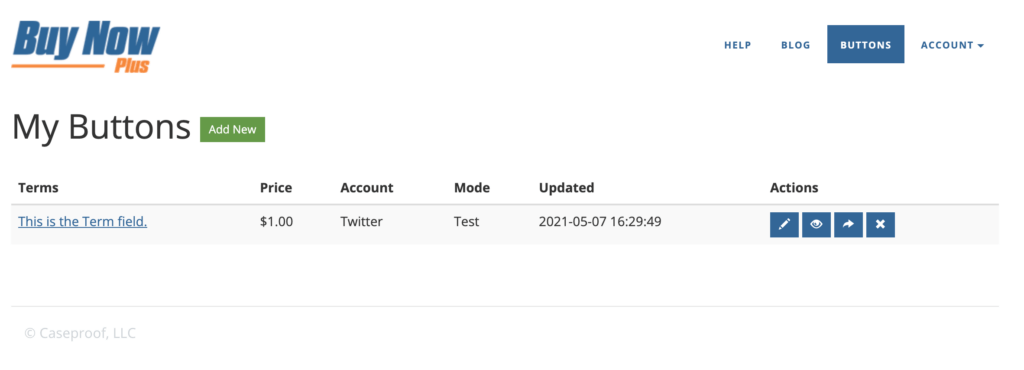
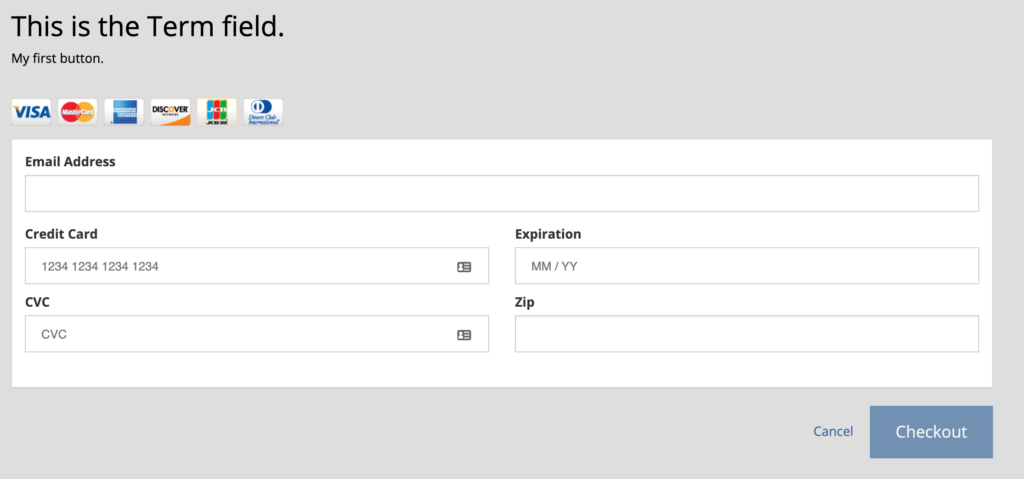
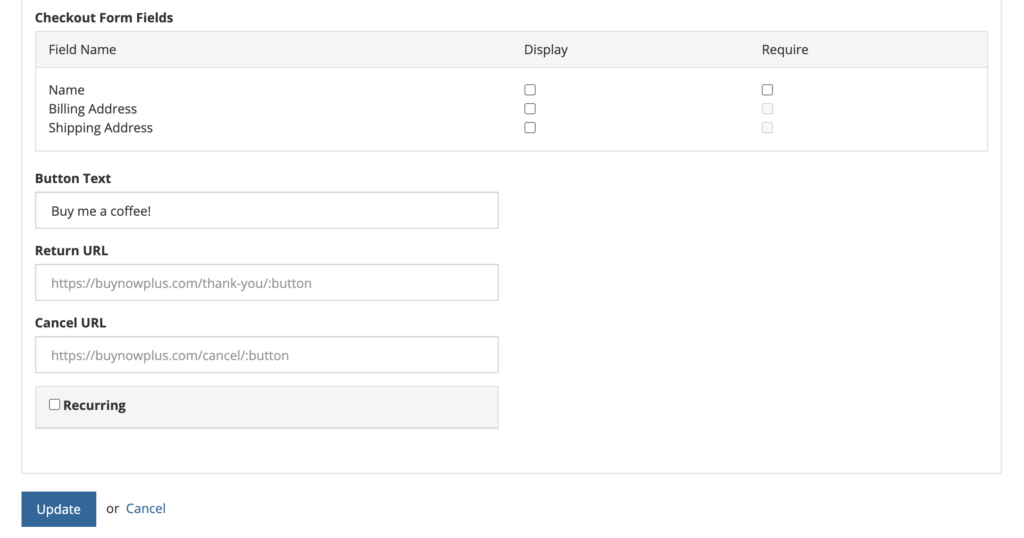
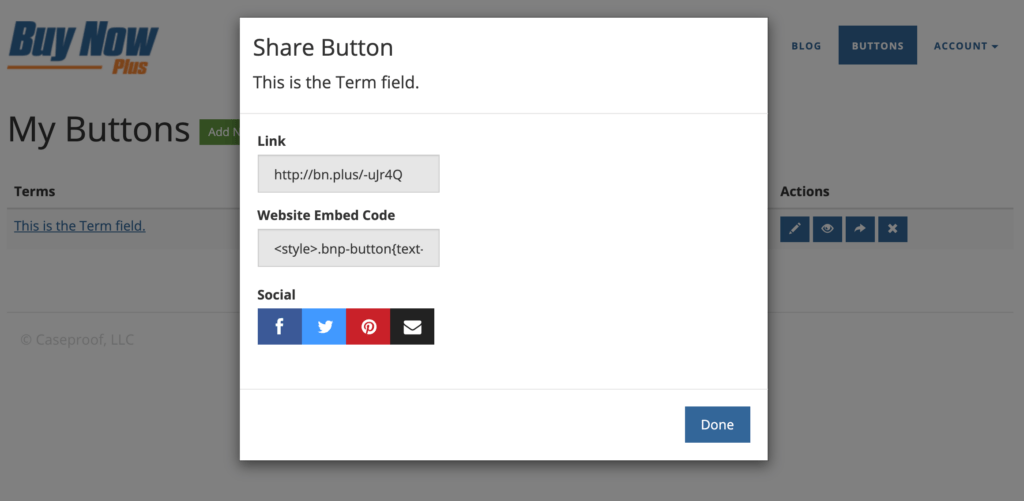
That's it! On the next page, you'll be able to create your first button and start selling:

Create a new button in Buy Now Plus

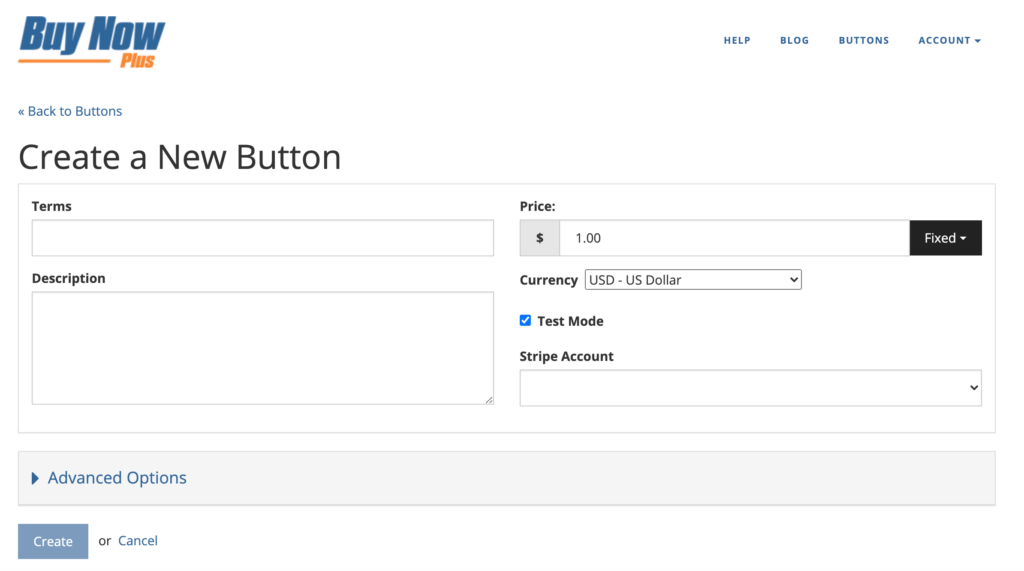
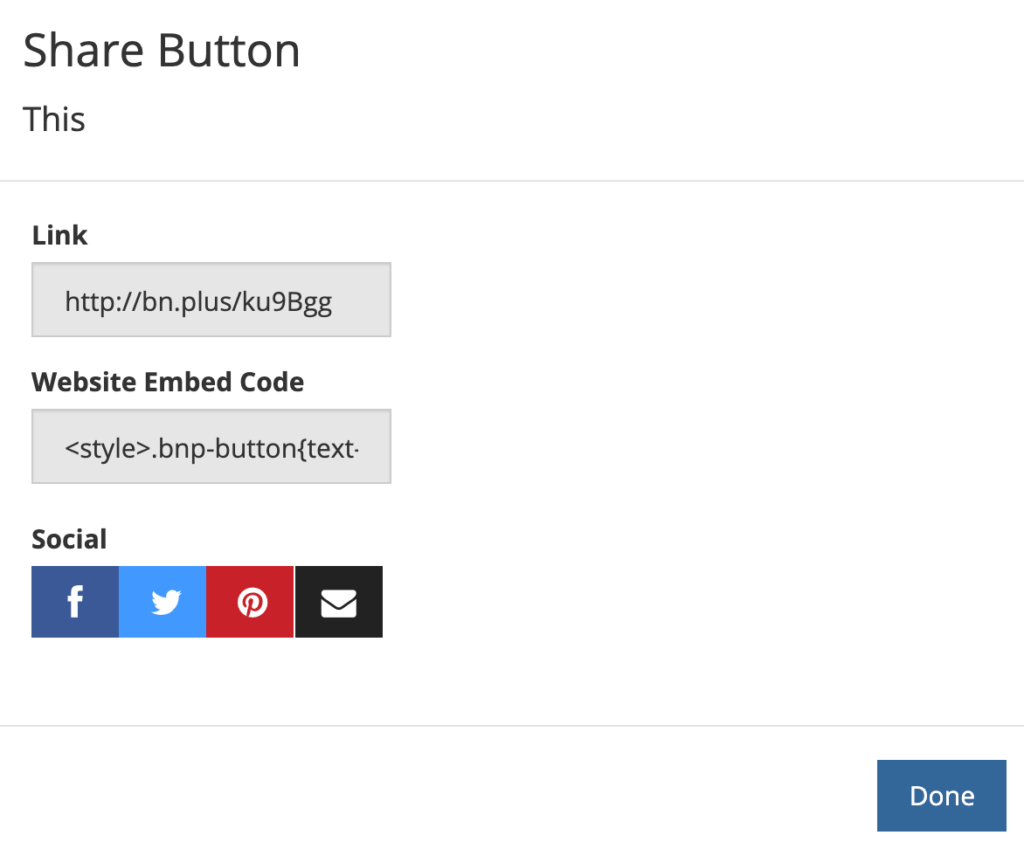
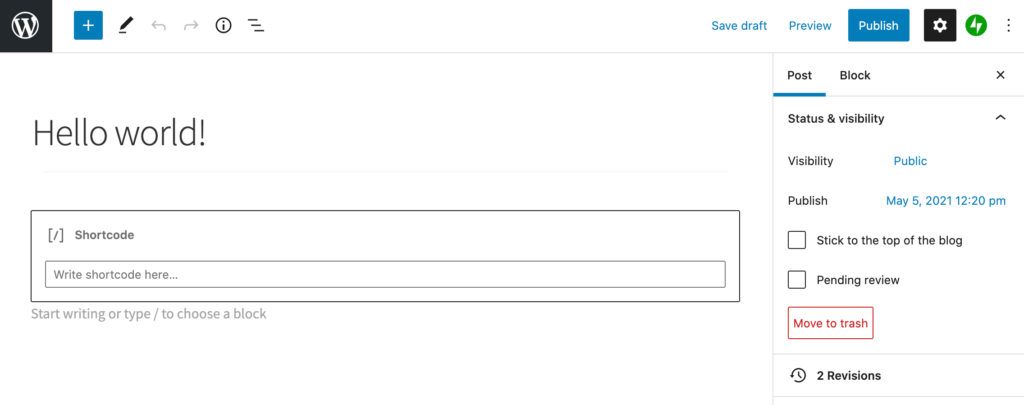
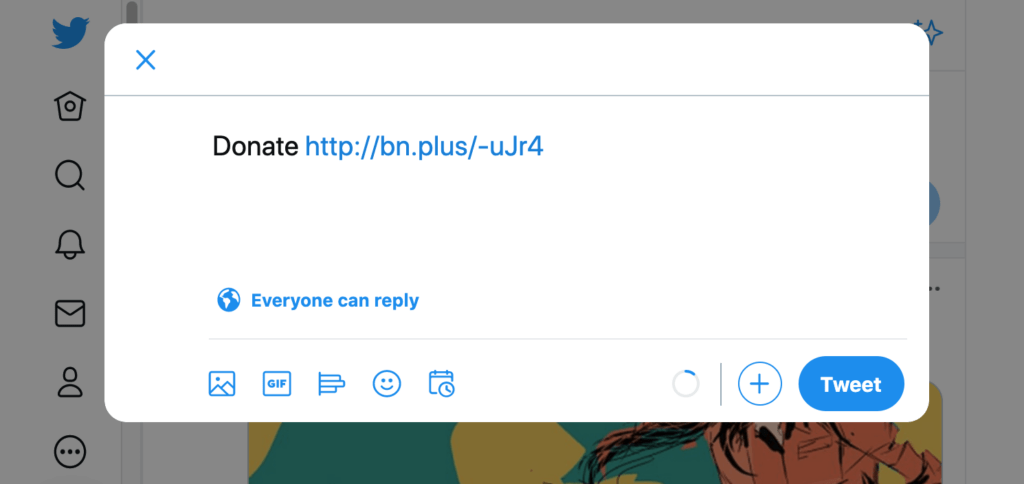
After creating your button, you can add it to any compatible platform using the auto-generated embed code.

Conclusion 

Processing credit cards may sound daunting, but it’s also the preferred payment method for the majority of shoppers. If your business doesn't support credit cards, then you may struggle to make sales.

With Buy Now Plus, incorporating this popular payment method doesn’t have to be complicated or expensive.

Do you have questions about how to add credit card support to your business? Let us know in the comments section below!

If you liked this post, be sure to follow us on Twitter, Facebook, and LinkedIn.

How to Create a PayPal-Style Buy Now Button with Stripe (4 Steps)

Most modern payment gateways support PayPal-style buy now buttons. However, adding these powerful call to action (CTA) buttons to your website isn’t always a straightforward process.

Thankfully, there are tools that can help you create high-converting buy now buttons for your ecommerce store, social media platforms, or any other location where you want to drive sales.

If you opt for a user-friendly tool, it’s even possible to create an engaging CTA without having to write a single line of code.

In this post, we’ll show you how to create a buy now button using the popular Stripe payment gateway. We’ll also look at how to further optimize the checkout process by designing an information-packed Thank You page. Let’s get started! 

An Introduction to Buy Now Buttons (And Why They’re Important)

Payment providers such as PayPal and Stripe are hugely popular with merchants who want to offer customers a quick, easy, and secure way to purchase their products and services.

Supporting a range of payment methods is often essential for driving sales. After all, if customers can't send you a payment using their preferred method, they may go elsewhere!

To really drive conversions and reduce cart abandonment rates, it’s smart to support a range of payment methods, and to make these gateways easily accessible via a buy now button. This is a CTA that bypasses multiple steps in the traditional payment process, and typically takes the shopper directly to your checkout page.

Most payment gateways support these powerful CTA buttons. This includes PayPal, which provide a Pay Now button that enables customers to make a purchase in seconds: 

The PayPal demo.

Stripe also offers a similar payment request button. However, implementing both the PayPal and Stripe buttons is a multi-step process that requires you to write some code. 

At Buy Now Plus we believe that creating your buttons should be just as easy as using them. Thanks to our dashboard and Stripe integration, you can create a PayPal-style buy now button for Stripe with ease – and without code!

How to Create a PayPal-Style Buy Now Button with Stripe (In 4 Easy Steps)

Let’s see how easy it is to create a buy now button. We’re going to assume you already have a Stripe account. If you don’t, then you can register for one at the Stripe website.

Step 1: Connect Stripe and Buy Now Plus

To start, head over to the Buy Now Plus login page. You can then either log in or connect to Stripe: 

The Buy Now Plus login screen.

The Buy Now Plus wizard will then walk you through linking your account to Stripe. As part of the registration process, Stripe will ask you to provide a statement descriptor and shortened descriptor.

This information explains charges and payments on bank statements, invoices, and receipts, which can help you avoid chargebacks:

The Buy Now Plus registration process.

Stripe will also ask for some information about your business, and for a mobile phone number. This adds an extra layer of security to your account. 

After registering, you’ll be automatically redirected to your Buy Now Plus dashboard. You can then get started on your buy now button.

Step 2: Design Your Buy Now Button

To create your first button, select Add New. Next, you'll need to enter some text into the Terms and Description fields. This information will appear on your payment screen:

A Buy Now Plus payment screen.

Then you can decide whether these payments should be fixed or variable. For example, you might create a variable purchase button if you’re accepting donations, or if you’re implementing a “pay what you want” model. You can also specify the currency that you’ll receive payments in.

Next, choose the Stripe account where you’ll accept these payments, using the Stripe Account dropdown. You can access some additional settings by clicking to expand the Advanced Options section.

Here, you can set the text that’ll appear on your button, for example Buy Now or Pay with Stripe.  This is all you need to create a simple buy now button. When you’re done, click on Create.

Step 3: Create an Optional Thank You Page

If the customer is unsure whether the payment has been processed correctly, they may contact your customer service desk or send you a duplicate payment. To avoid confusion, you can create a Thank You page where customers will be redirected following a successful payment.

This page is also an opportunity to provide helpful information, including a summary of the customer’s order and their tracking code. This can improve the customer experience, which may put you in a stronger position to secure repeat sales:

A Thank You page, created using a WordPress plugin.

Buy Now Plus can automatically redirect the customer to a page of your choice following a successful payment. This can be any page or post that you create in the WordPress dashboard.

Step 4: Preview and Post Your Buy Now Button

The main Buy Now Plus dashboard will now display the button you just created.  You can see how this CTA will appear to the customer by clicking on the preview icon under Actions:

Create a PayPal-style Buy Now button with Stripe, in the  Buy Now Plus dashboard.

If you’re happy with your button, you can navigate back to the main dashboard and select the share icon under Actions. This will launch a dialog containing an embed code: 

Buy Now Plus' website embed code.

Now, head over to your WordPress website, and find the page or post where you want to add your button. Open the page editor and create a shortcode block at the exact location where you want to display it:

The WordPress shortcode block.

You can now paste your embed code into this block and save your changes. Alternatively, you may want to add this button to your site’s recurring elements, such as the header, footer, or sidebar. 

Conclusion 

Buy now buttons can be a simple but effective tool for boosting your sales. Although most popular payment gateways support the buy now feature, adding this may require writing some code or installing additional tools. Thanks to Buy Now Plus, you can implement these payment buttons more easily. 

Let’s recap how you create a buy now button in four quick steps: 

  1. Connect Stripe and Buy Now Plus.
  2. Design your buy now button.
  3. Create an optional thank you page.
  4. Preview and post your button PayPal-style buy now button.

Do you have any questions about creating a PayPal-style buy now button with Stripe? Let us know in the comments section below!

How to Sell on Social Media With Buy Now Buttons (In 3 Steps)

A buy now button can be a powerful addition to your ecommerce site. However, your ability to generate sales is still reliant on people visiting your site.

Fortunately, with the right tools, you can post your buy now button across multiple platforms, including social media. This strategy enables you to turn some of the biggest global social networks into additional revenue streams. 

In this post, we’ll discuss how buy now buttons can help you boost revenue directly from Facebook, Twitter, and other popular social networks. Then we'll show you how to create a buy now button and share it with your followers in three simple steps. Let’s get started! 

An Introduction to Using Buy Now Buttons on Social Media

A buy now button is a call to action (CTA) that brings customers directly to your checkout page. By removing multiple steps from the purchasing process, buy now buttons can be an effective solution for driving conversions:

A Buy Now button on the Amazon website.

If you create your buttons using our Buy Now Plus service, you can use them across multiple channels, including on social media. By incorporating buy now buttons into your social media posts, you can transform these networks into additional revenue streams and monetize your existing followers

Buy now buttons can minimize the time between customers becoming interested in products and entering the checkout process. In other words, this feature can encourage impulse purchases. 

Time-sensitive social media platforms are particularly great for incentivizing spur-of-the-moment decisions. Someone scanning social media may spot your product and use your buy now button to make a purchase on a whim. 

Every time you post on social media, you have the opportunity to introduce your brand to an entirely new audience. With over 2.7 billion monthly active Facebook users and 69.3 million Twitter users in the U.S. alone, social media is a powerful tool for getting your products in front of more people.

However, there's no need to be content with simply raising brand awareness.  By adding a buy now button to your next post, you may be able to immediately convert these new followers into paying customers. 

How to Sell on Social Media With Buy Now Buttons (In 3 Steps)

Now that you understand more about the potential of leveraging social media to increase sales, let's take a look at how to go about it. Below are three steps you can take to create buy now buttons for all your social media accounts.

Step 1: Sign Up for Stripe and Buy Now Plus Accounts

To get started with Buy Now Plus, you’ll need a Stripe account. If you don’t already have one with this popular payment processor, you can create one on the Stripe website:

The Stripe homepage.

After enrolling with Stripe, head over to the Buy Now Plus login page. You can then select either Login with Stripe or Connect to Stripe: 

The Buy Now Plus service.

Follow the on-screen instructions to set up your Buy Now Plus account, which includes securing your account with a mobile number:

How to sell on social media using the Buy Now Plus service.

During the registration process, you’ll be asked to provide a statement descriptor and shortened descriptor. This information will appear in payment statements, invoices, and receipts.

If a customer doesn’t recognize your descriptor, they may request a chargeback. Therefore, it’s important to provide a clear statement and shortened descriptor:

Add your statement and shortened descriptors in the Buy Now Plus dashboard.

After registering with Buy Now Plus, you’ll be transferred to your dashboard. To create your first button, select Add New. 

Step 2: Create a Buy Now Button

To start, enter a value in the Terms field. This is the text that will appear at the top of your payment screen:

The Buy Now Plus checkout screen.

Payments can either be fixed or variable. Variable purchase buttons are useful if you operate on a “pay what you want” model or accept donations.

You can also set the currency and add a description that will display on your payment screen. Next, specify the Stripe account where you’ll accept payments using the Stripe Account drop-down menu.

You can access additional settings by clicking to expand the Advanced Options section. Here, you can enter the button text.

For fixed payments, it often makes sense to display the cost of the purchase or a generic message such as “Buy now”.  Alternatively, if you’re creating a variable button, you might use a label such as “Donate” or “Buy Me a Coffee”:

The Buy Now Plus dashboard.

To provide a better customer experience, you may want to create a dedicated page where customers will be directed following their successful payments.

Similarly, you could point visitors to a different page if they choose to cancel their payments. After building these pages in your WordPress dashboard, you can copy and paste their URLs into the Return URL and Cancel URL fields.

Buy Now Plus has many other settings that are worth exploring in more detail. However, for now, this is all you need to create a simple buy now button. Select Create to continue.

Step 3: Preview and Share Your Button on Social Media

If you navigate to the main Buy Now Plus dashboard, you’ll see the button you just created. You can see how this CTA will appear to customers by clicking on Preview:

Create a Buy Now button, ready to sell on social media.

If you’re happy with your button, you can select the Sharing icon. This will launch a popup containing buttons for all the major social networks, including Facebook and Twitter:

A share button, ready to sell on social media.

Clicking on any of these buttons will create a new draft post containing a link to your Buy Now page. Your followers can send you payments by following this URL:

Sell on social media with Buy Now Plus.

If you’re posting to Twitter, your tweet can easily get lost in the timeline. To help drive conversions, you may want to pin the tweet to the top of your profile: 

Sell on social media with Buy Now buttons.

Buy Now Plus provides dedicated sharing buttons for several social networks. However, if you want to post to an alternative platform, simply click on the sharing icon and copy the provided link. Then you can paste the URL into any location that accepts text, including other social channels. 

Conclusion 

By posting your buy now buttons on social media platforms, you can remove an additional step in the checkout process and enable customers to make purchases without having to explicitly visit your site.

Let’s recap how you can sell on social media in three easy steps: 

  1. Sign up for Stripe and Buy Now Plus accounts.
  2. Create a buy now button.
  3. Preview and share your button on social media.

Do you have any questions about using buy now buttons on social media? Let us know in the comments section below!

css.php