
Most modern payment gateways support PayPal-style buy now buttons. However, adding these powerful call to action (CTA) buttons to your website isn’t always a straightforward process.
Thankfully, there are tools that can help you create high-converting buy now buttons for your ecommerce store, social media platforms, or any other location where you want to drive sales.
If you opt for a user-friendly tool, it’s even possible to create an engaging CTA without having to write a single line of code.
In this post, we’ll show you how to create a buy now button using the popular Stripe payment gateway. We’ll also look at how to further optimize the checkout process by designing an information-packed Thank You page. Let’s get started!
An Introduction to Buy Now Buttons (And Why They’re Important)
Payment providers such as PayPal and Stripe are hugely popular with merchants who want to offer customers a quick, easy, and secure way to purchase their products and services.
Supporting a range of payment methods is often essential for driving sales. After all, if customers can't send you a payment using their preferred method, they may go elsewhere!
To really drive conversions and reduce cart abandonment rates, it’s smart to support a range of payment methods, and to make these gateways easily accessible via a buy now button. This is a CTA that bypasses multiple steps in the traditional payment process, and typically takes the shopper directly to your checkout page.
Most payment gateways support these powerful CTA buttons. This includes PayPal, which provide a Pay Now button that enables customers to make a purchase in seconds:
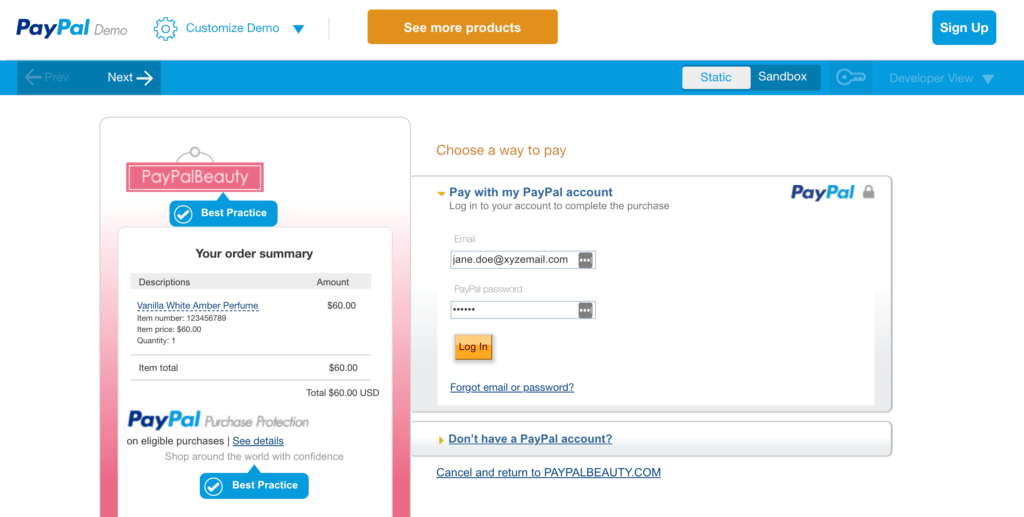
Stripe also offers a similar payment request button. However, implementing both the PayPal and Stripe buttons is a multi-step process that requires you to write some code.
At Buy Now Plus we believe that creating your buttons should be just as easy as using them. Thanks to our dashboard and Stripe integration, you can create a PayPal-style buy now button for Stripe with ease – and without code!
How to Create a PayPal-Style Buy Now Button with Stripe (In 4 Easy Steps)
Let’s see how easy it is to create a buy now button. We’re going to assume you already have a Stripe account. If you don’t, then you can register for one at the Stripe website.
Step 1: Connect Stripe and Buy Now Plus
To start, head over to the Buy Now Plus login page. You can then either log in or connect to Stripe:
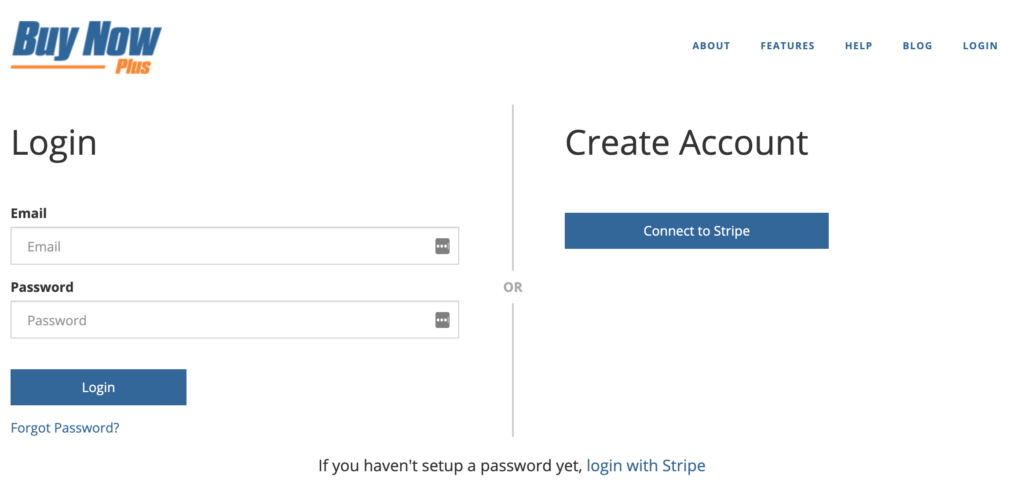
The Buy Now Plus wizard will then walk you through linking your account to Stripe. As part of the registration process, Stripe will ask you to provide a statement descriptor and shortened descriptor.
This information explains charges and payments on bank statements, invoices, and receipts, which can help you avoid chargebacks:
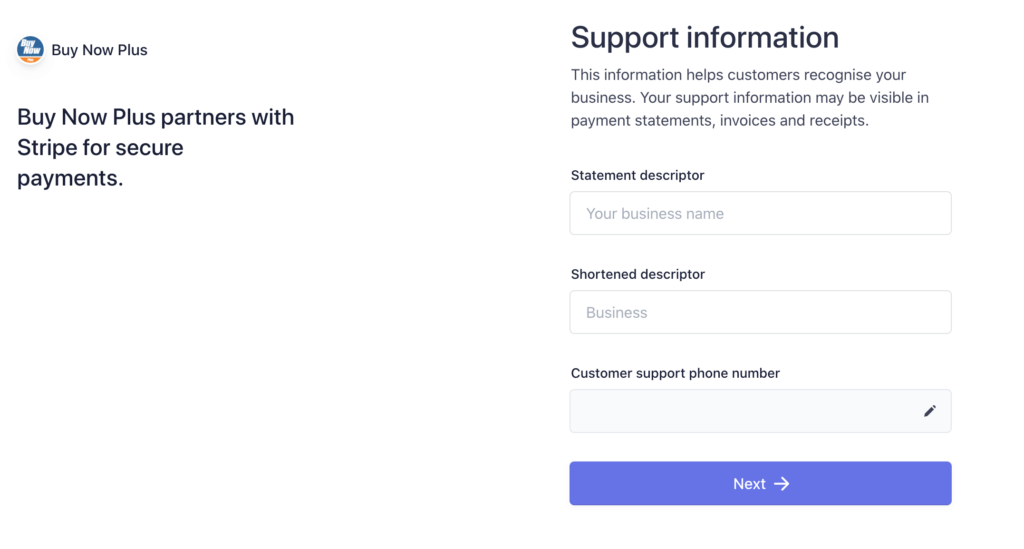
Stripe will also ask for some information about your business, and for a mobile phone number. This adds an extra layer of security to your account.
After registering, you’ll be automatically redirected to your Buy Now Plus dashboard. You can then get started on your buy now button.
Step 2: Design Your Buy Now Button
To create your first button, select Add New. Next, you'll need to enter some text into the Terms and Description fields. This information will appear on your payment screen:
Then you can decide whether these payments should be fixed or variable. For example, you might create a variable purchase button if you’re accepting donations, or if you’re implementing a “pay what you want” model. You can also specify the currency that you’ll receive payments in.
Next, choose the Stripe account where you’ll accept these payments, using the Stripe Account dropdown. You can access some additional settings by clicking to expand the Advanced Options section.
Here, you can set the text that’ll appear on your button, for example Buy Now or Pay with Stripe. This is all you need to create a simple buy now button. When you’re done, click on Create.
Step 3: Create an Optional Thank You Page
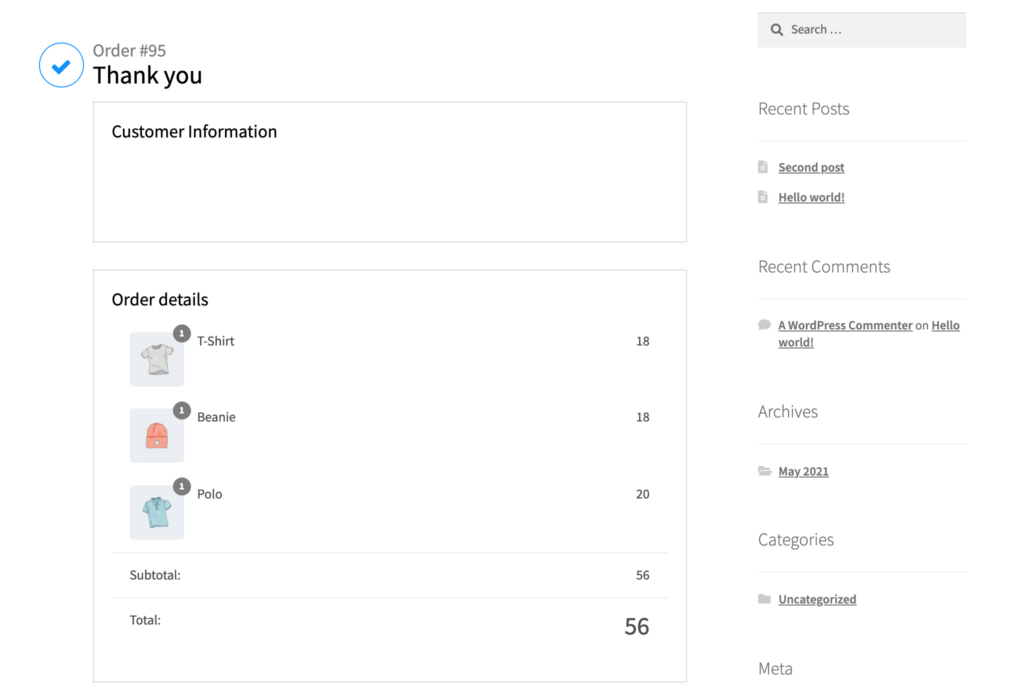
If the customer is unsure whether the payment has been processed correctly, they may contact your customer service desk or send you a duplicate payment. To avoid confusion, you can create a Thank You page where customers will be redirected following a successful payment.
This page is also an opportunity to provide helpful information, including a summary of the customer’s order and their tracking code. This can improve the customer experience, which may put you in a stronger position to secure repeat sales:
Buy Now Plus can automatically redirect the customer to a page of your choice following a successful payment. This can be any page or post that you create in the WordPress dashboard.
Step 4: Preview and Post Your Buy Now Button
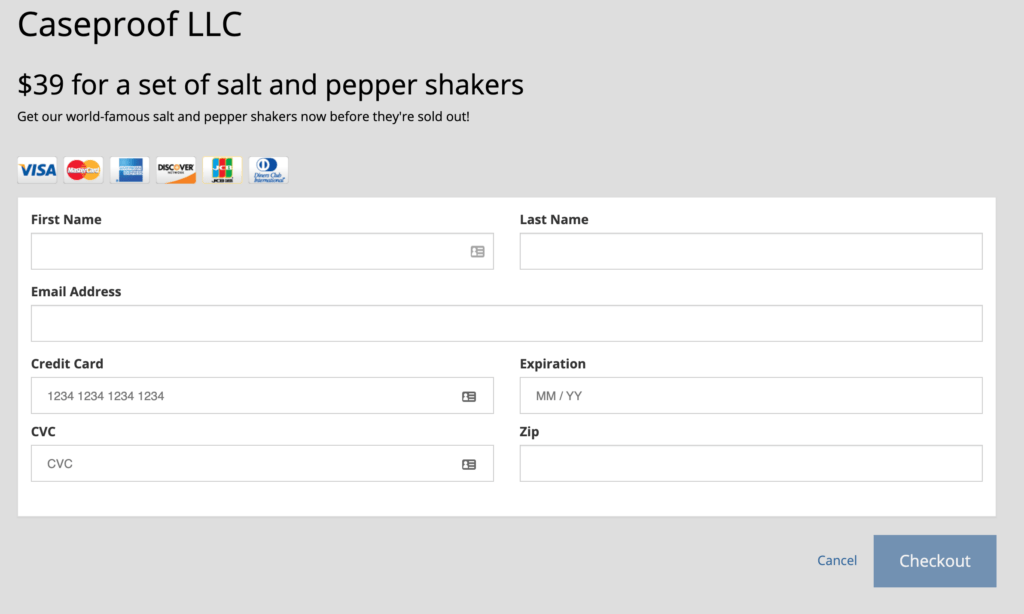
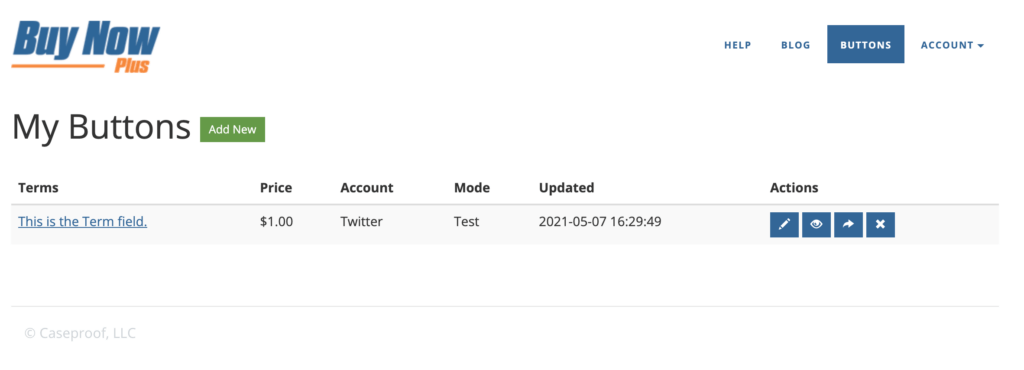
The main Buy Now Plus dashboard will now display the button you just created. You can see how this CTA will appear to the customer by clicking on the preview icon under Actions:
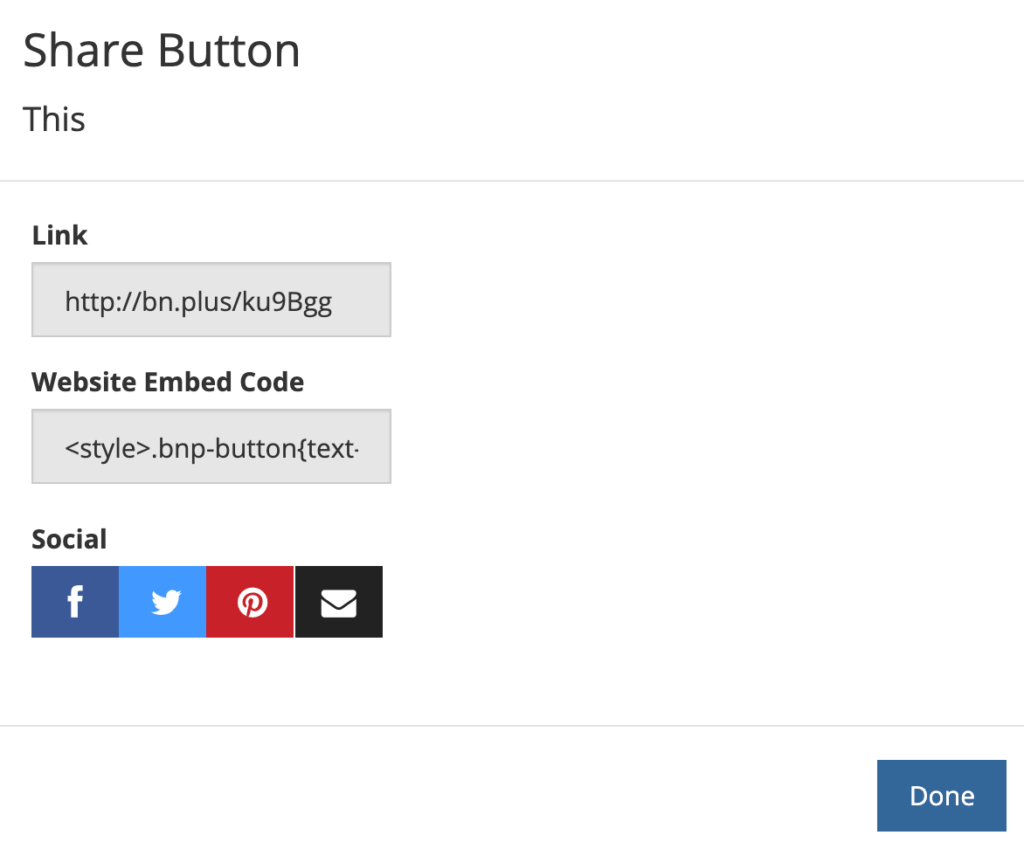
If you’re happy with your button, you can navigate back to the main dashboard and select the share icon under Actions. This will launch a dialog containing an embed code:
Now, head over to your WordPress website, and find the page or post where you want to add your button. Open the page editor and create a shortcode block at the exact location where you want to display it:
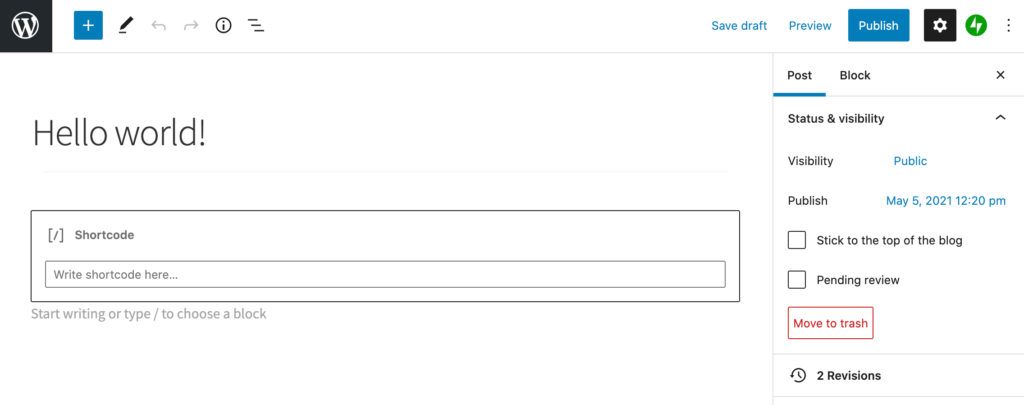
You can now paste your embed code into this block and save your changes. Alternatively, you may want to add this button to your site’s recurring elements, such as the header, footer, or sidebar.
Conclusion
Buy now buttons can be a simple but effective tool for boosting your sales. Although most popular payment gateways support the buy now feature, adding this may require writing some code or installing additional tools. Thanks to Buy Now Plus, you can implement these payment buttons more easily.
Let’s recap how you create a buy now button in four quick steps:
- Connect Stripe and Buy Now Plus.
- Design your buy now button.
- Create an optional thank you page.
- Preview and post your button PayPal-style buy now button.
Do you have any questions about creating a PayPal-style buy now button with Stripe? Let us know in the comments section below!