Would you like to accept credit cards from your customers, but you don't have a website? No problem! As long as you have a social media account and a bank account, you can take credit card payments with Buy Now Plus.
In this post, we’ll discuss why accepting credit cards is crucial to running a successful business. Then we’ll show you how easy it is to use this payment method with Buy Now Plus. Let’s get started!
Why It’s Important to Accept Credit Card Payments
Credit cards are the most popular payment method in the United States. If your business doesn’t accept card payments, then you could be alienating the majority of your audience and losing potential sales.
If your customers can't make a purchase using their preferred payment methods, they may go elsewhere. To maximize your sales, it’s important to support as many different payment methods as possible.
The method we always recommend prioritizing? Credit cards.
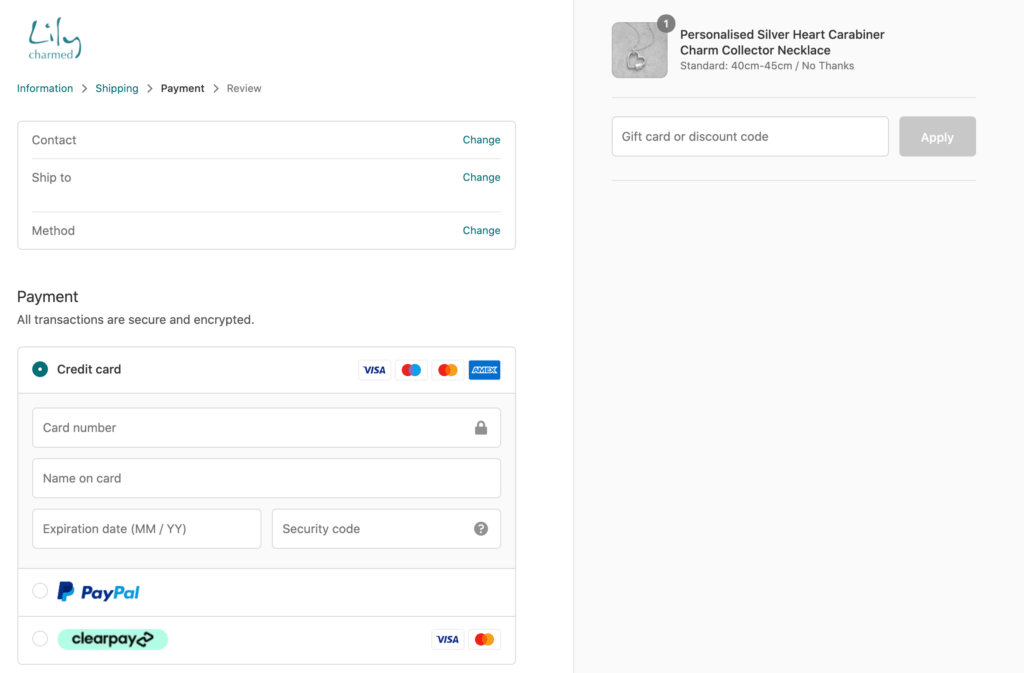
Despite the popularity of paying by credit card, some businesses may be reluctant to support card payments due to the associated fees. For every credit card transaction, you’ll have to pay interchange fees, assessment or service fees, and the payment processor’s markup.
These transaction fees can seem off-putting, particularly for small businesses and startups that may be operating on tighter budgets. However, if you don’t accept credit cards, you're shrinking your customer pool.
It’s far better to sacrifice a percentage of a successful sale than to lose out on that sale entirely. Plus, if your checkout process is more accessible, you're more likely to boost your profits, grow your customer base, and secure repeat sales.
How to Accept Credit Card Payments Without a Website Using Buy Now Plus
Buy Now Plus is a free service you can use to accept payments without purchasing and installing SSL certificates. You only get charged if you make a sale. And that charge is only 3% – super low compared to the industry standard for similar services, which is between 4% and 5%.
The best part is that it works right on top of the Stripe payment processor. That means to get set up, all you have to do is head to BuyNowPlus.com, and click the Start Selling button:
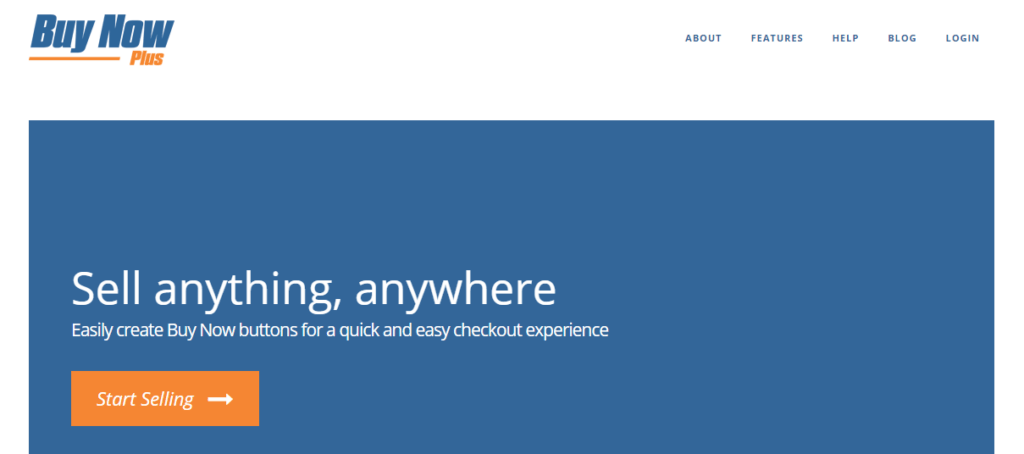
Clicking the Start Selling button will open the Getting Started form. If you already have a Stripe account, you'll be able to login and connect it to Buy Now Plus.
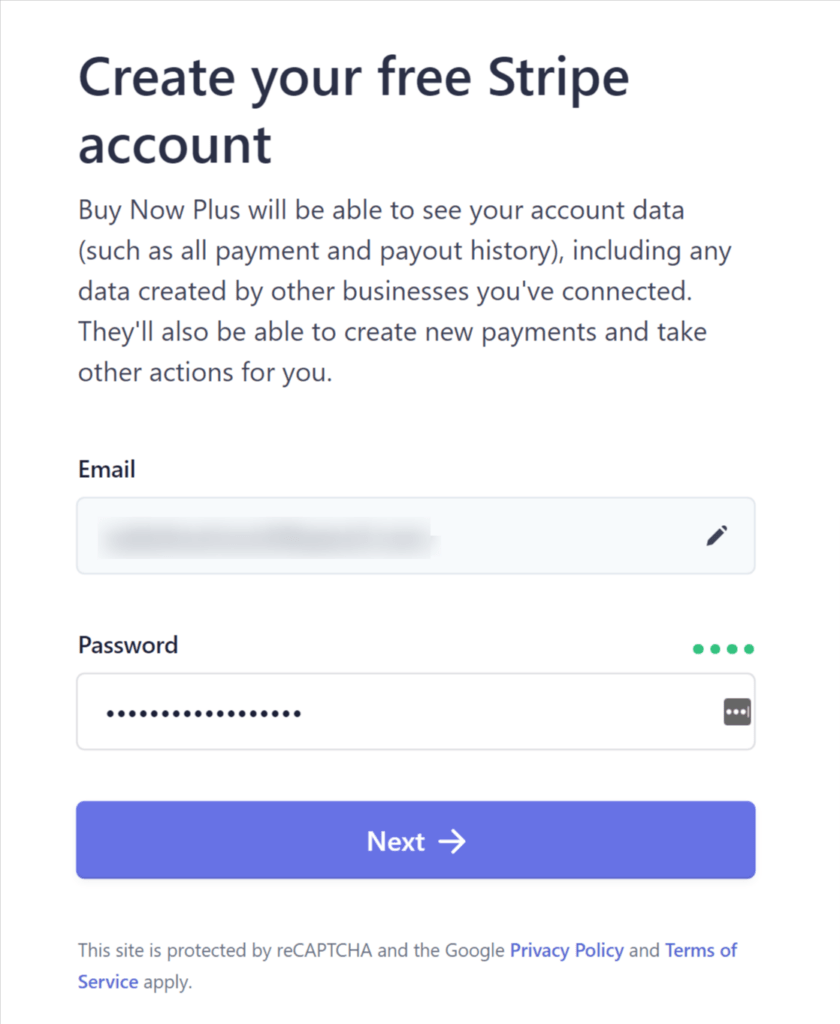
If you don't have a Stripe account, just enter your email and click Next to get your free account set up:
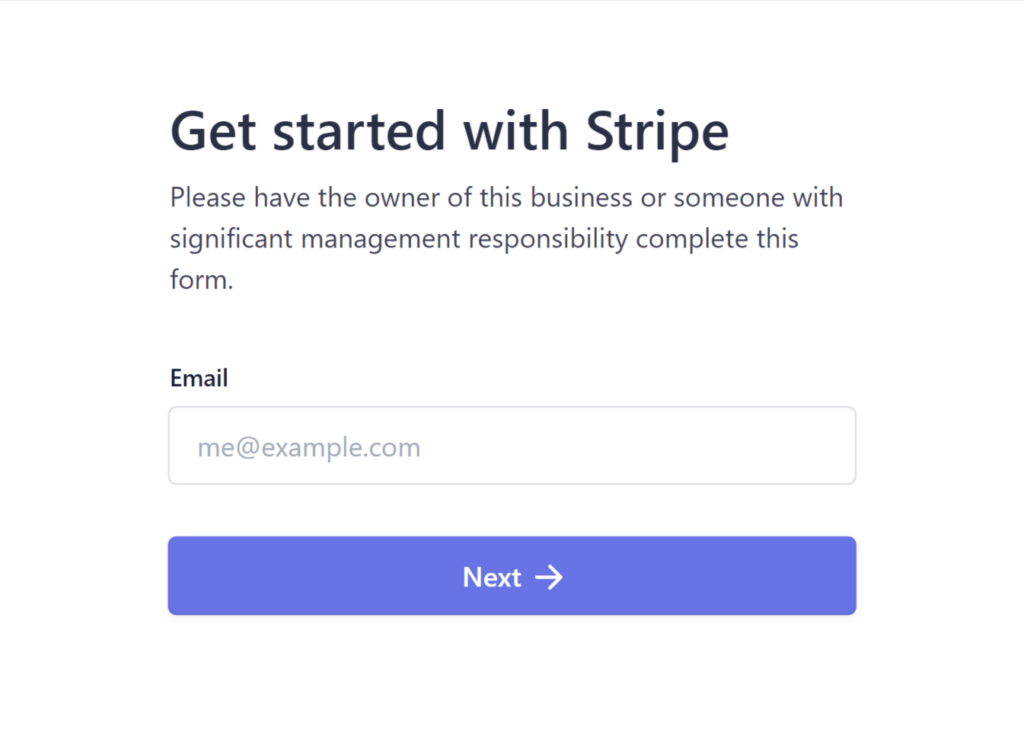
On the next page, create a password for your new Stripe account, and click Next:
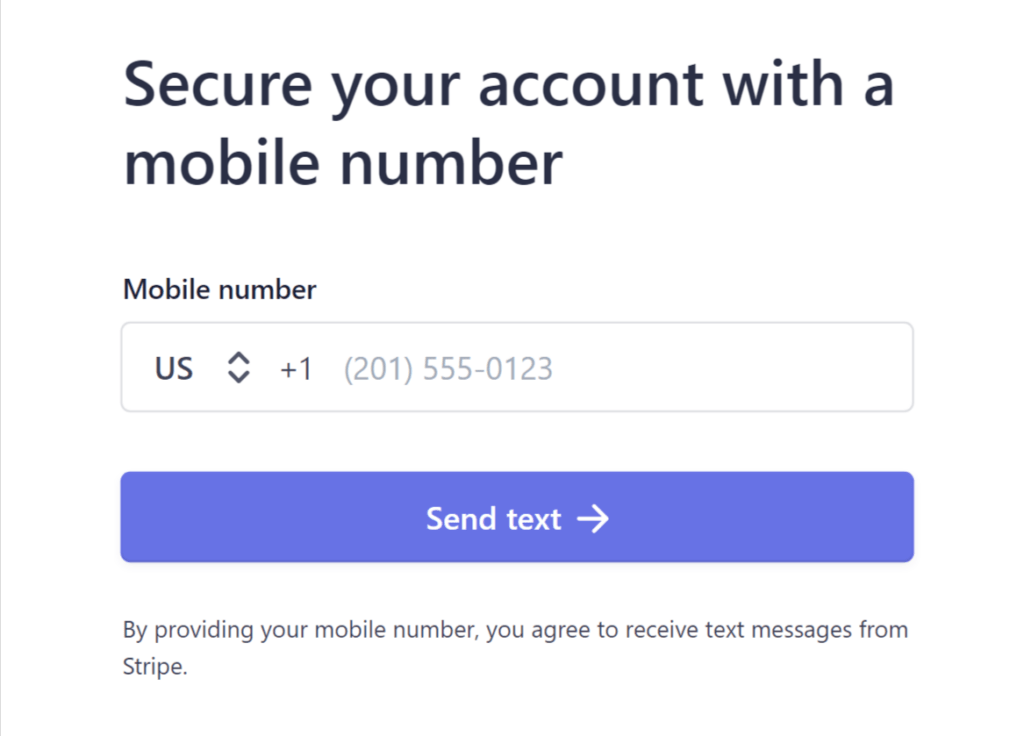
In the next step, you'll secure your account by adding your cell phone number:
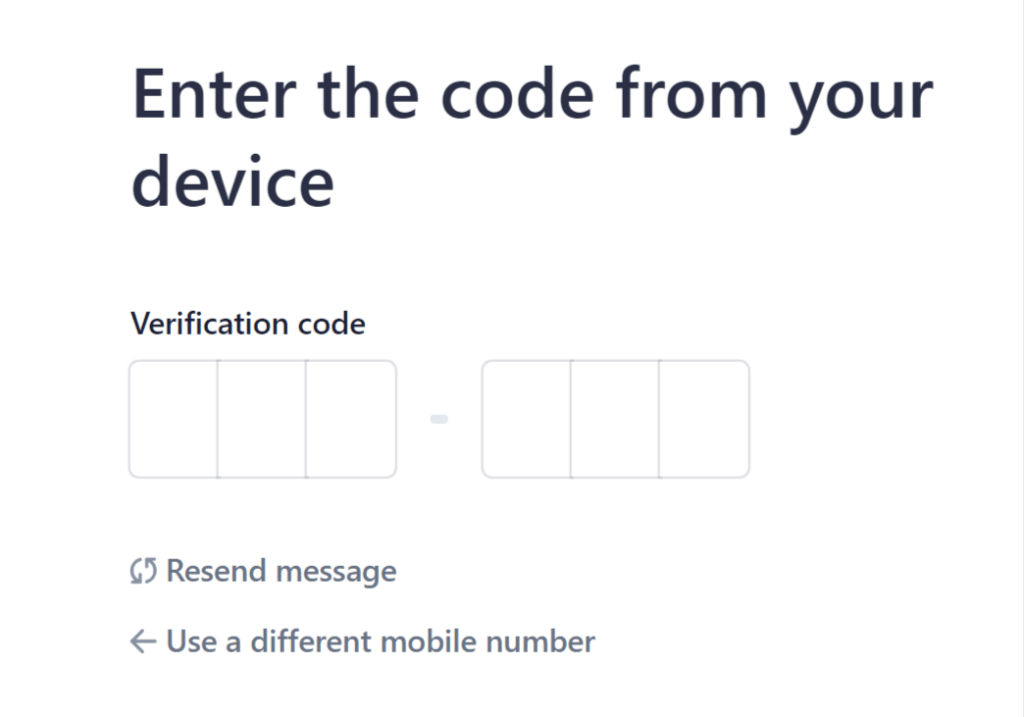
You'll get a text with a special code, which you'll then enter for verfication:
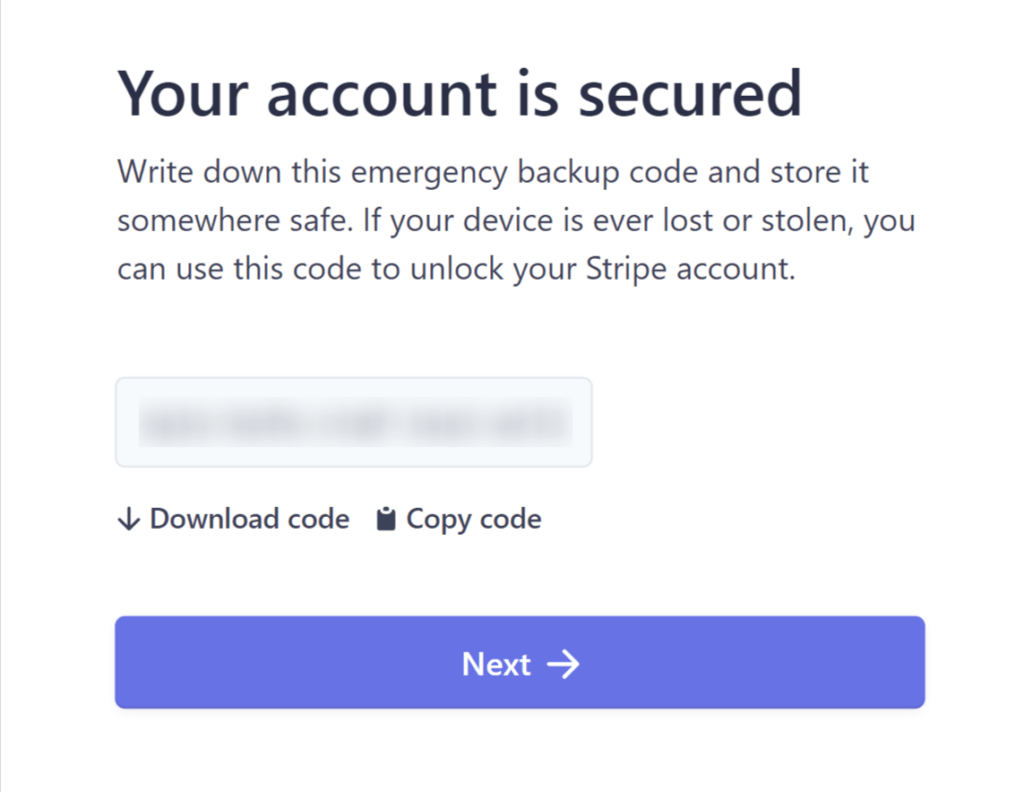
If verification is successful, you'll get a confirmation that your new Stripe account is secured. The confirmation will also include an emergency backup code you can use if your device is lost or stolen. You'll definitely want to copy that code and keep it in a safe place.
Once you've got your backup code stored away safely, click Next:
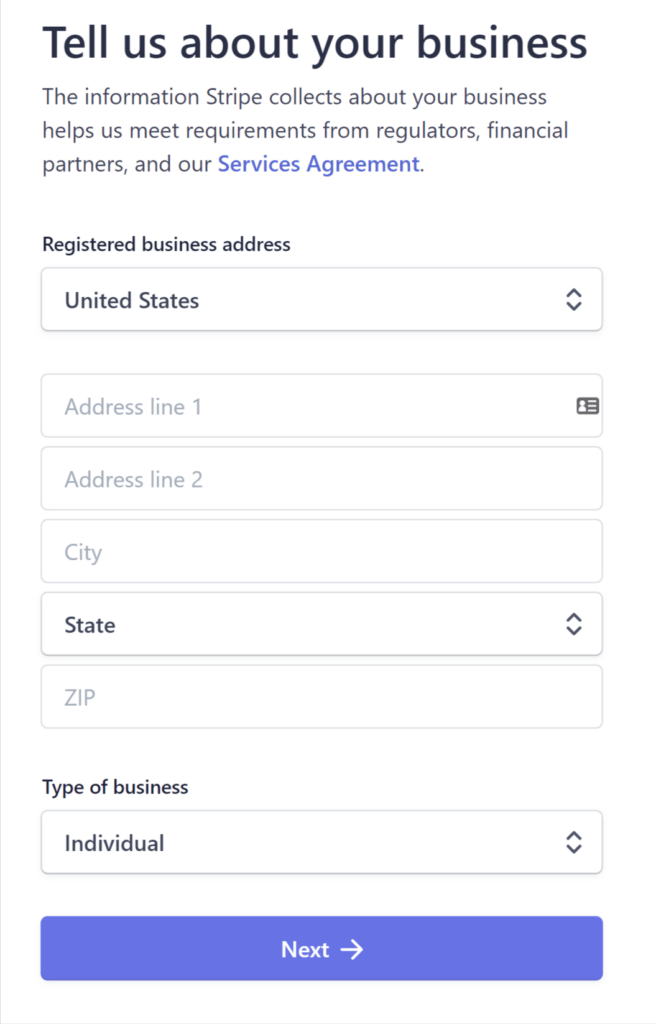
In this step, you'll give some basic information about your business. If your business doesn't have a physical address, just enter your home address, then click Next:
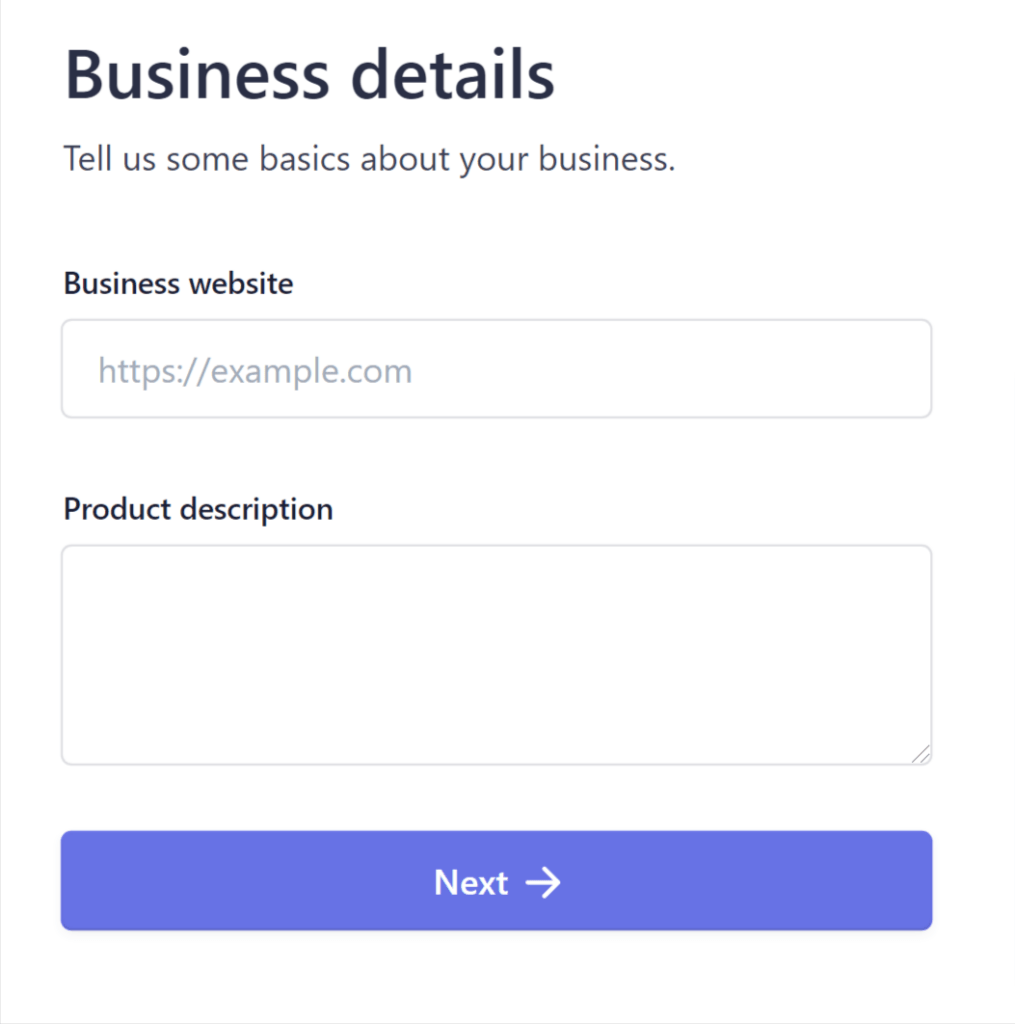
Now you'll enter a few additional details about your business. The first field asks for your business website. But don't worry. You can enter your social media profile address if you don't have a business website.
Then enter a short product description and click Next:
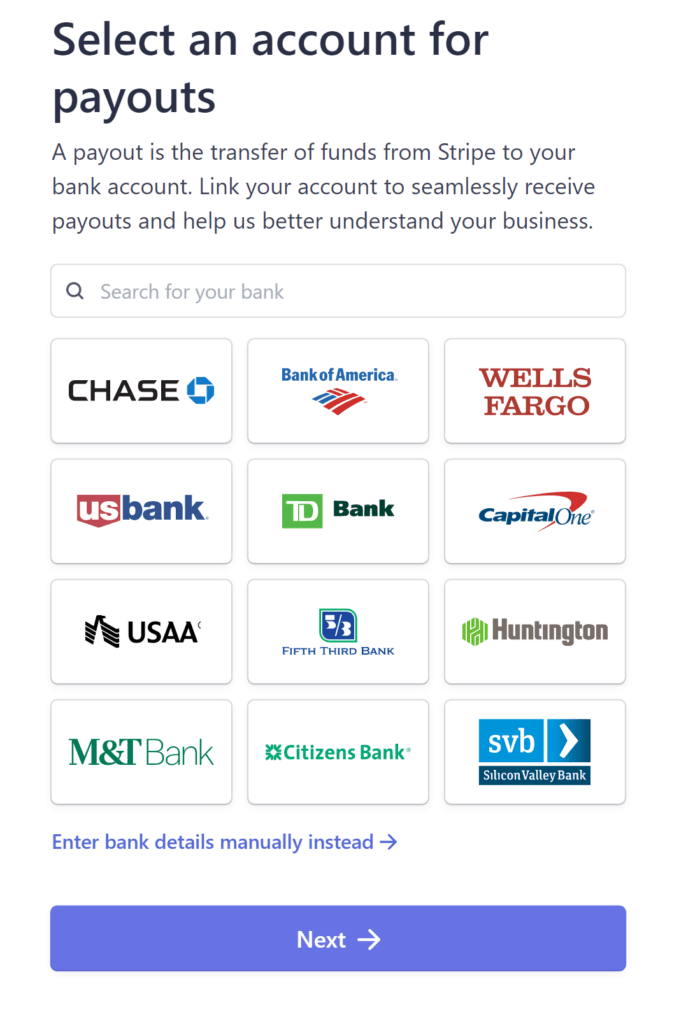
Now you'll choose a bank account where your payments will be deposited. First search for your bank in the search field. If it doesn't pop up, you can enter your bank's details manually by clicking the link at the bottom of the screen.
Once that's all set, click Next:
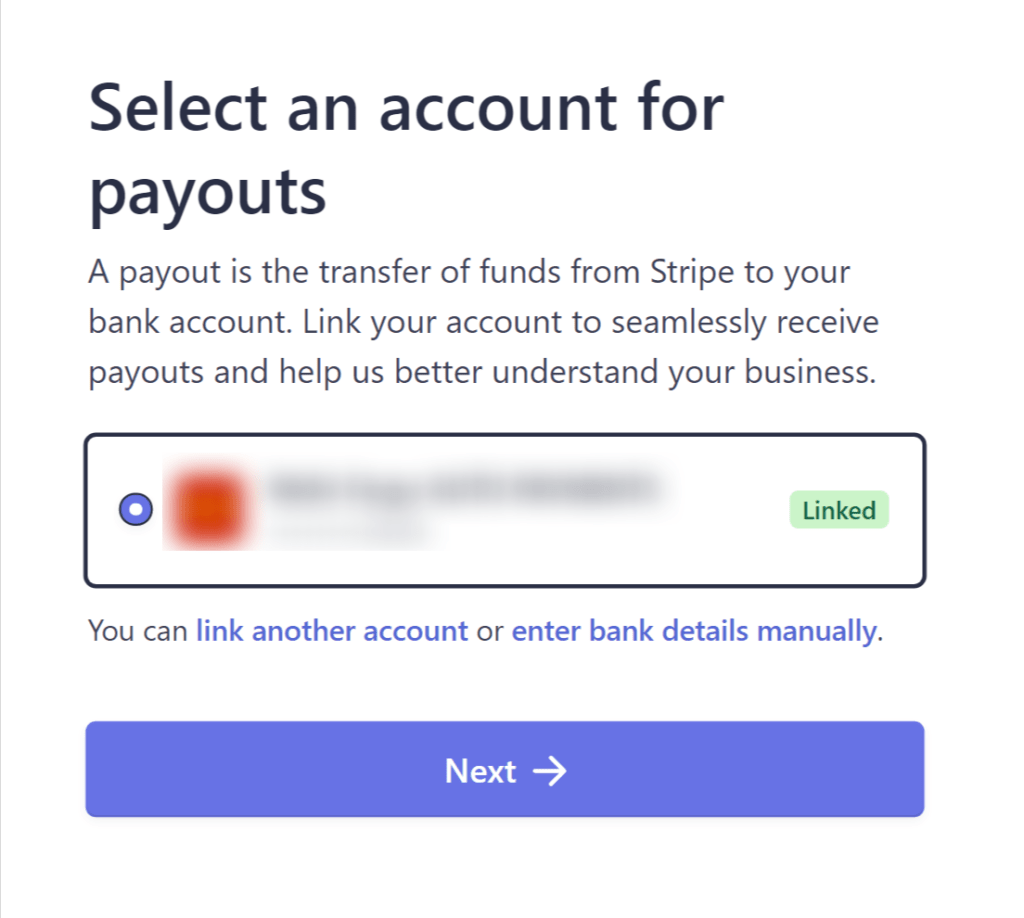
The next screen will verify that your bank account is linked to your new Stripe account. If everything looks good, click Next:
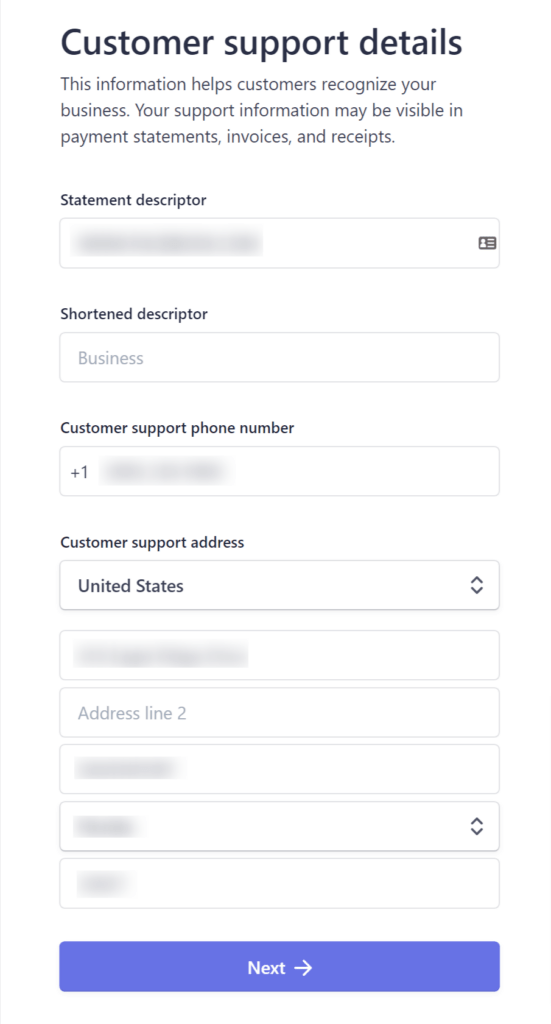
In this step you'll enter your customer support details. One of these details is a “descriptor” that will appear on a customer's credit card statement to help them identify the charge.
For example, if your business name is ABC Plumbing, you could simply enter “ABC Plumbing” in this field. In the shortened descriptor field, you might enter just “ABC” or “Plumbing”.
Now you'll enter your business address and phone number. Again, just use your home address and cell number if that's what you use for business. Then click Next, and your Stripe account will be all set:
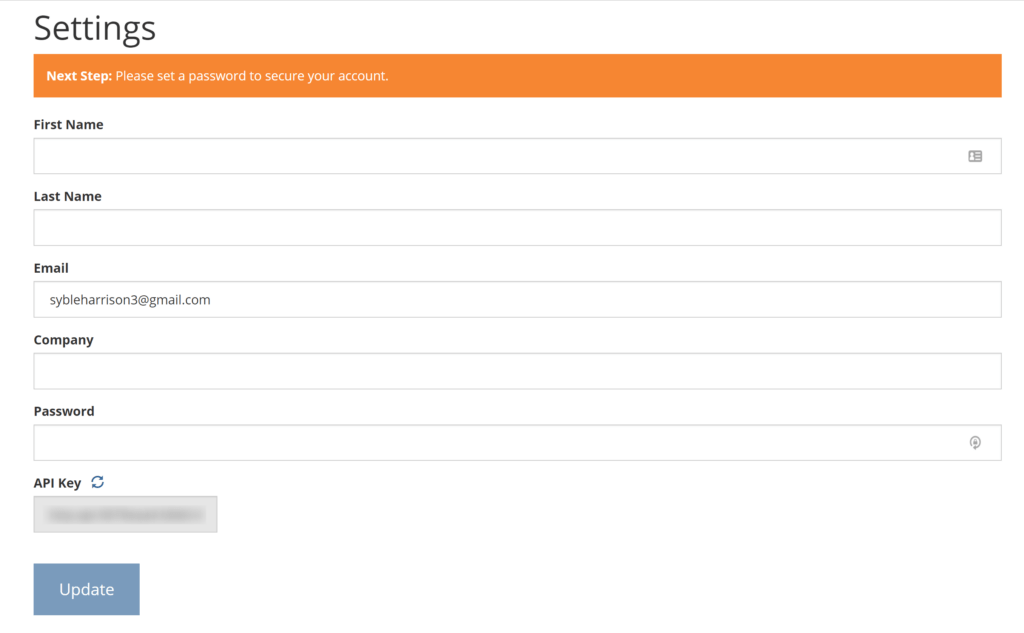
On the next page you'll configure your Buy Now Plus settings. Just make sure the form includes your name, email, and company name. Then create a password, and click Update:
That's it! On the next page, you'll be able to create your first button and start selling:
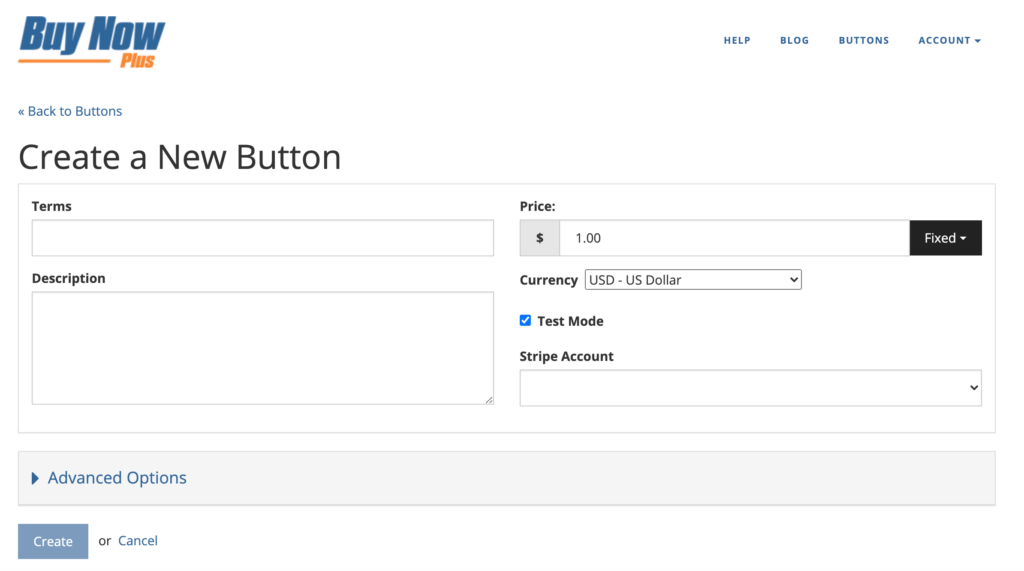
After creating your button, you can add it to any compatible platform using the auto-generated embed code.
Conclusion
Processing credit cards may sound daunting, but it’s also the preferred payment method for the majority of shoppers. If your business doesn't support credit cards, then you may struggle to make sales.
With Buy Now Plus, incorporating this popular payment method doesn’t have to be complicated or expensive.
Do you have questions about how to add credit card support to your business? Let us know in the comments section below!
If you liked this post, be sure to follow us on Twitter, Facebook, and LinkedIn.

