
As an online seller, it’s easy to become fixated on encouraging customers to add products to their shopping carts. However, this isn’t enough to guarantee sales, as there's evidence to suggest that nearly 70% of shoppers fail to complete the checkout process.
Fortunately, it is possible to replace the traditional multi-step checkout with a single Buy Now button. By adding one to your site or social profile, you can often dramatically reduce cart abandonment rates and boost your bottom line.
In this post, we’ll look at why every online business should have a buy now button. Then we’ll show you how to add this simple but effective feature to your own website or social account step by step. Let’s get started!
An Introduction to Buy Now Buttons (And Why You Might Want to Create One)
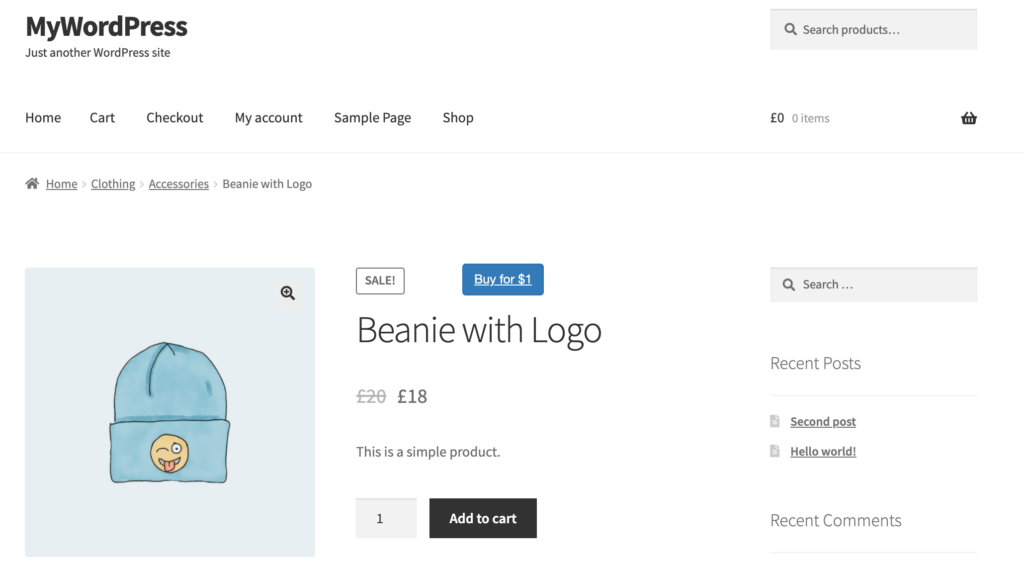
A buy now button is a call to action (CTA) that usually takes a shopper to either a product page, their cart, or directly to your checkout page. Buy now buttons are useful for bypassing many of the steps typically required to complete a purchase.
This may include time-consuming tasks, such as creating an account. Since you’re streamlining the buying process, Buy now buttons can help drive conversions and reduce cart abandonment rates.
Buy Now buttons are most commonly used on ecommerce sites. However, when you create a button using our flexible Buy Now Plus tool, you can use the same CTA across multiple platforms, including email newsletters and social media.
This helps you provide a consistent purchasing experience, while also transforming multiple channels into revenue streams. Buy now buttons are particularly valuable in omnichannel marketing, as they help provide a smooth and integrated shopping journey across all of your channels.
How to Create a Buy Now Button With Stripe
Now that we've discussed why a Buy Now button can be a powerful addition to your ecommerce site, let’s look at how easy it is to create one with Stripe.
Step 1: Sign Up for Buy Now Plus
Buy Now Plus is a free service that allows you to accept payments without the need for SSL certificates. You're only charged if you make a sale. And our fee is only 3% – a very low rate when you consider the industry standard is between 4% and 5%.
What's great about Buy Now Plus is that it works right on top of Stripe. So whether or not you already have Stripe account, just head over to BuyNowPlus.com, and click the Start Selling button:
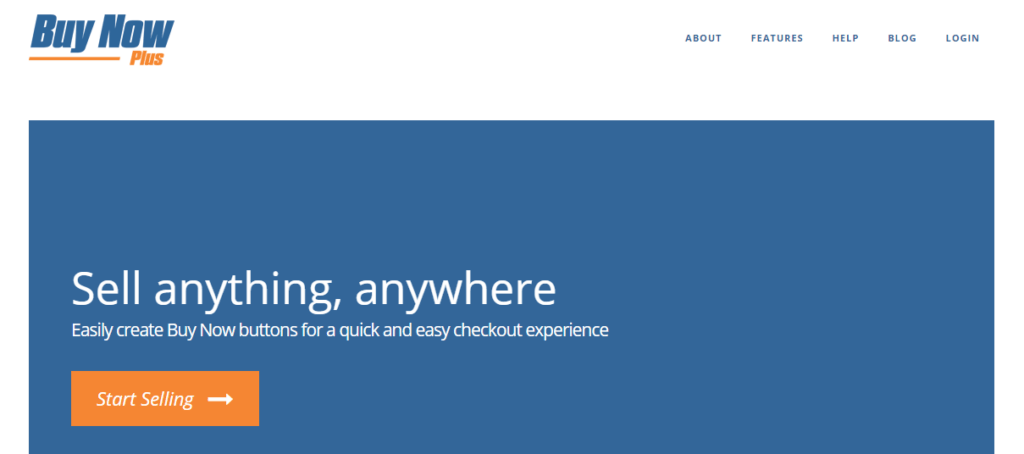
Clicking the Start Selling button opens the Getting Started form. If you have an existing Stripe account, you'll have to option to login and connect it to Buy Now Plus right then.
If you've never had Stripe, just enter your email and click Next to set up your new free account:
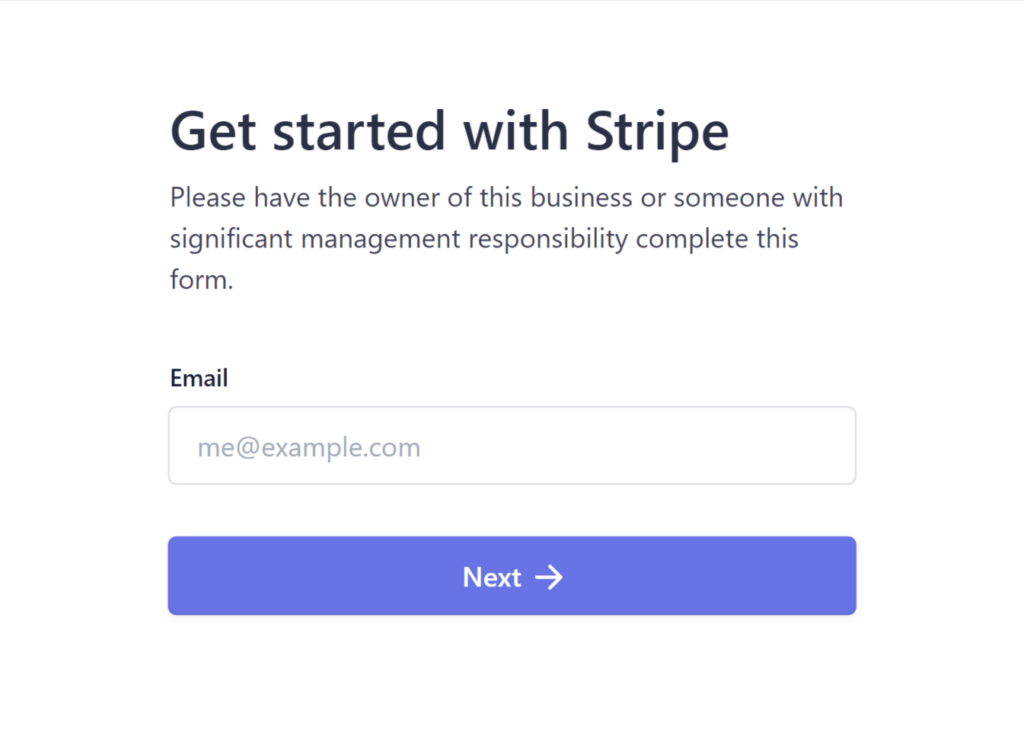
After that, you'll create a password for your new Stripe account, and click Next:

And secure your account by adding your cell phone number:

Once you get your special code via text message, enter the code for verification:
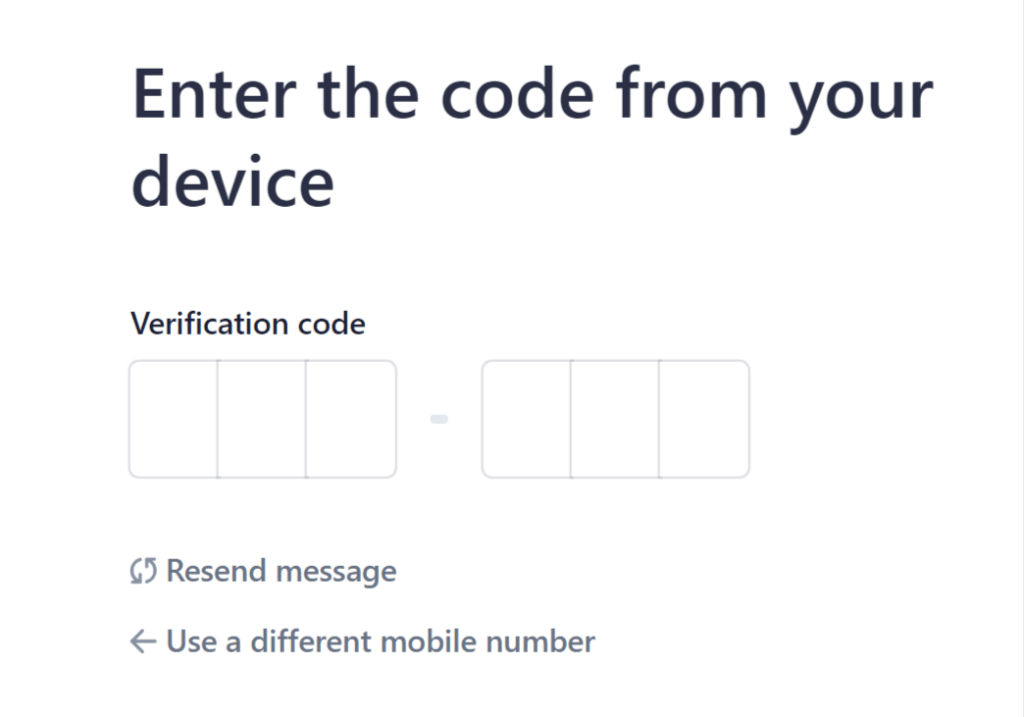
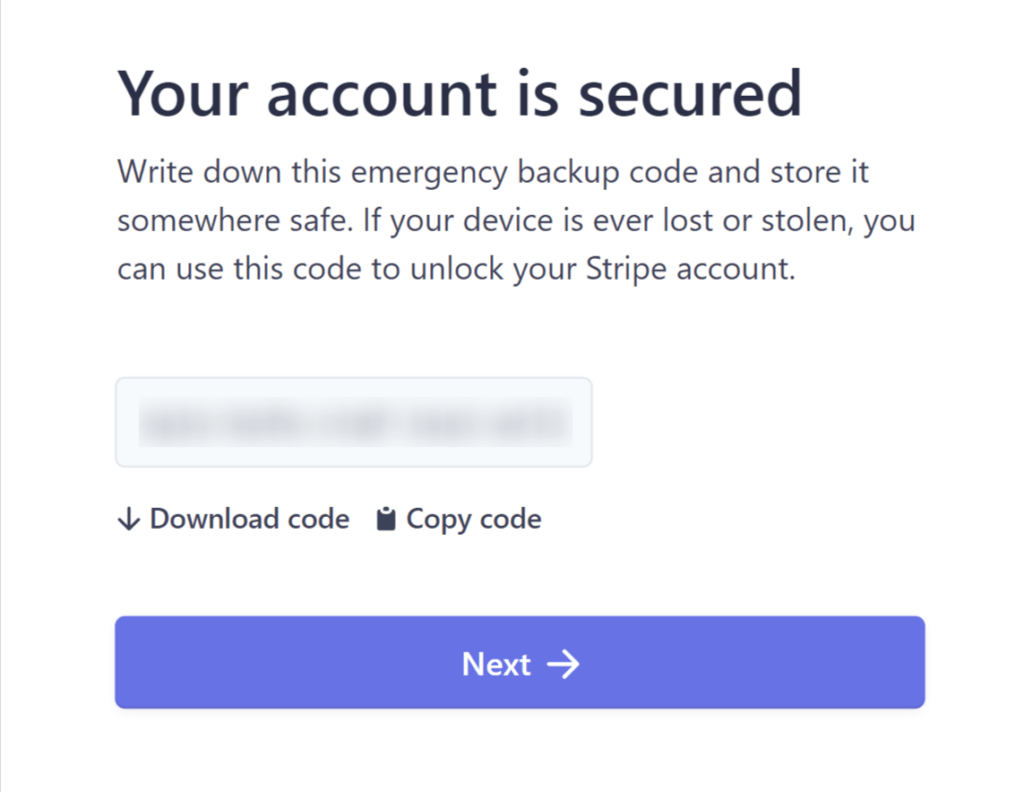
In a few seconds, you'll receive a confirmation that your new Stripe account is secured. Make sure you the emergency backup code provided, and keep it in a safe place. Then click Next.
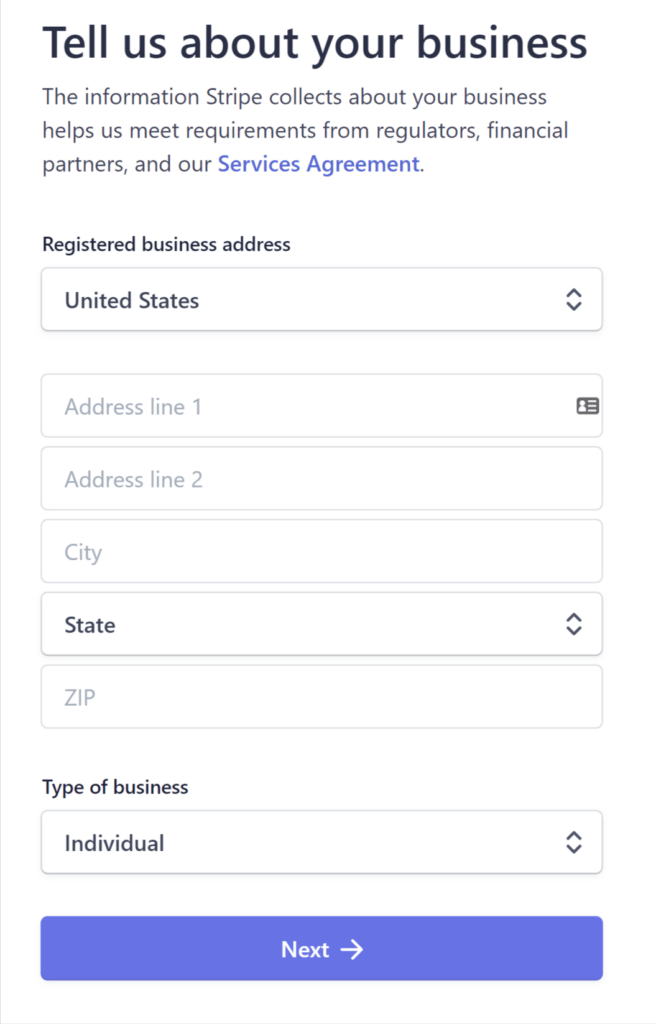
Here, you'll enter a few basic details about your business. If you don't operate with a physical address, just use your home address, then click Next:
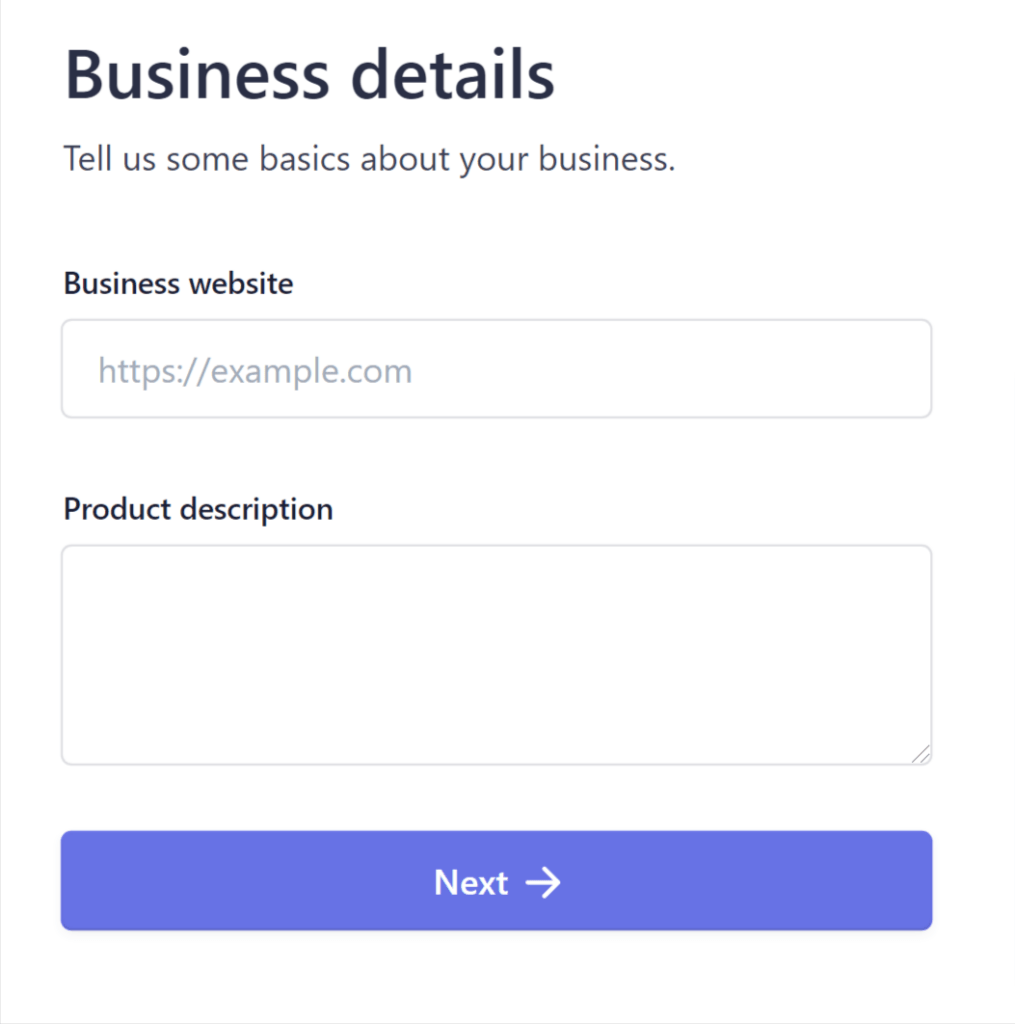
Next you'll add a bit more info about your business. The first field asks for your business website. If you don't have a website, just use the social media profile URL for your business.
Next provide a short product description, and click Next:
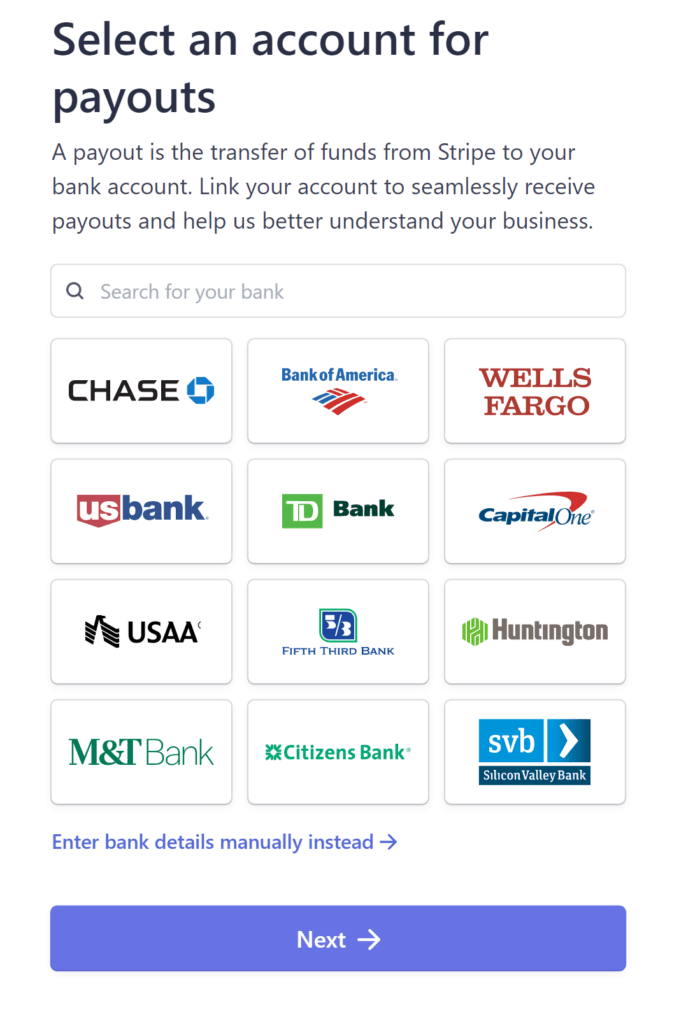
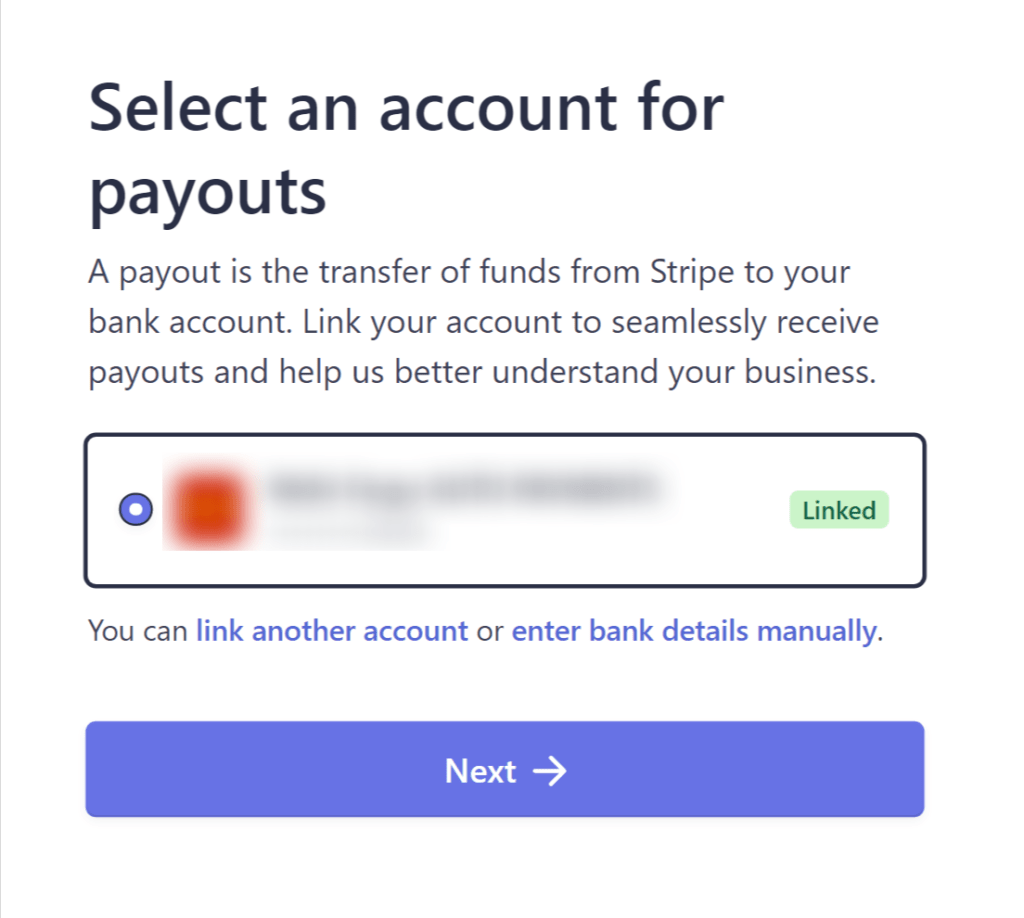
Now is when you'll designate a bank account where your payments will be deposited. Search for your bank in the search field. If it doesn't show up, you can enter the bank's details manually by clicking the link at the bottom of the screen.
Once that's done, click Next:
The next screen that appears will verify that your bank account is linked to your new Stripe account. Make sure everything looks right, then click Next:
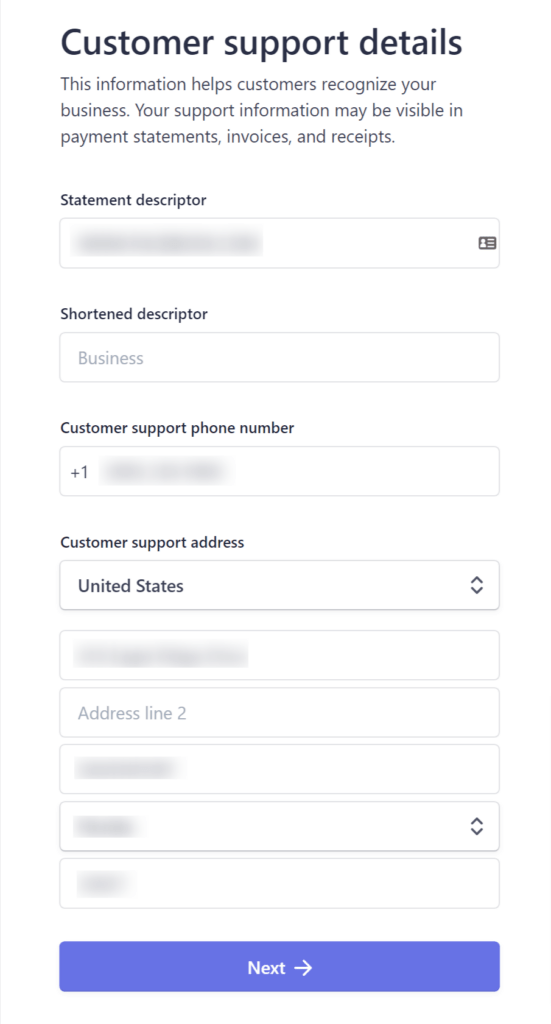
Now you'll want to set up your customer support info. One of these details is a “descriptor” that will appear on a customer's credit card statement to help them identify where the charge originated.
For example, if your business name is ABC Upholstering, you could simply enter “ABC Upholstering” in the field. In the shortened descriptor field, you might enter just enter “ABC” or “Upholstering”.
Next you'll add your business address and phone number. Again, just use your home address and cell number if that's what you use for business. Then click Next, and your Stripe account will be all set up:
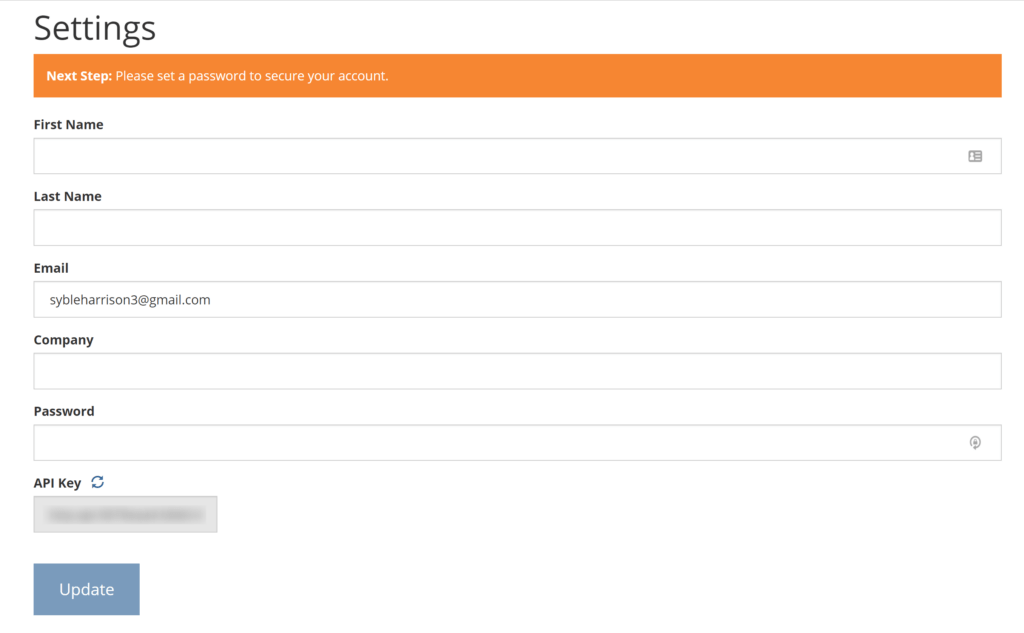
Now you'll get to configure your Buy Now Plus settings. Just make sure the form includes your name, email, and company name. Then create a password, and click Update:
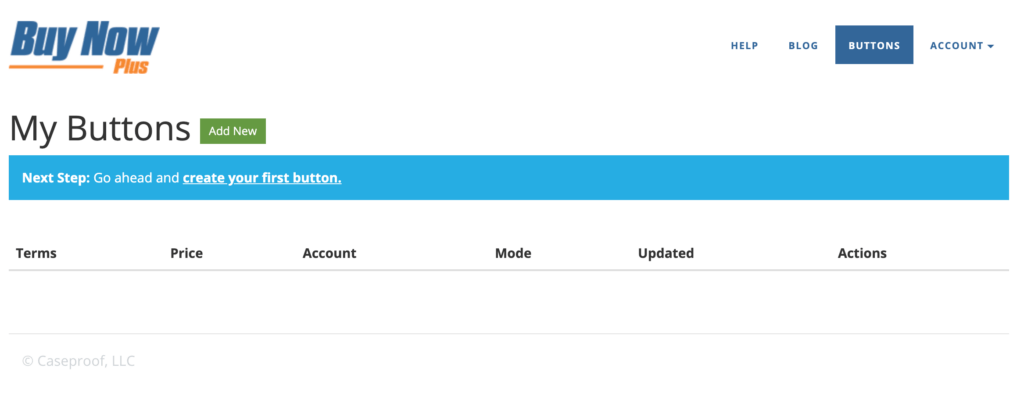
On the next page, you'll be all set to create your first button and start selling.
Step 2: Create a Buy Now Button
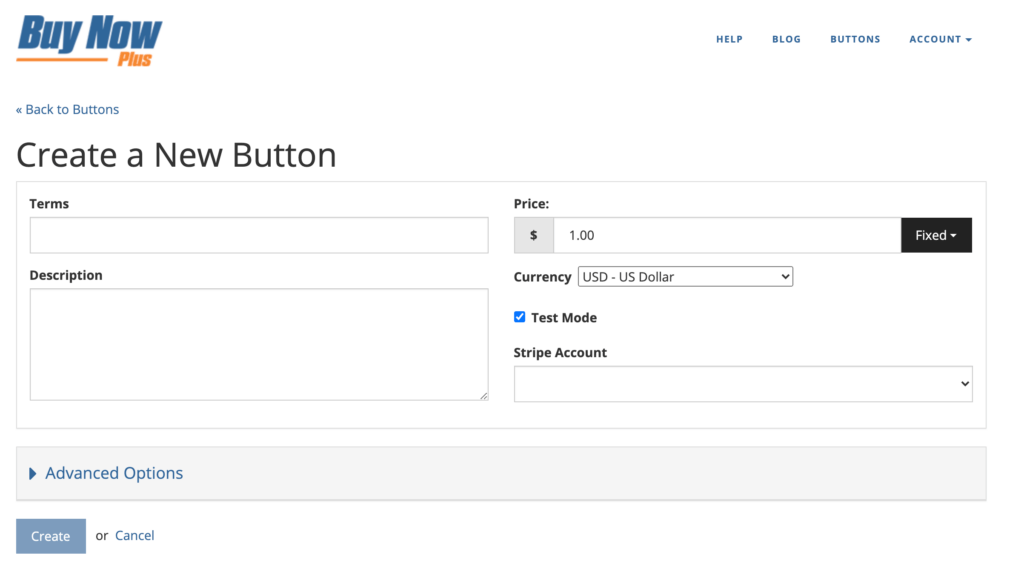
For the purposes of this post, we’ll create a simple button that charges customers a flat fee. To get started, select Buttons > Add New:
In the Terms field, enter the text that will appear at the top of your payment screen. For Price, click to open the drop-down menu, then select Fixed. Now, you can specify your flat-fee rate:
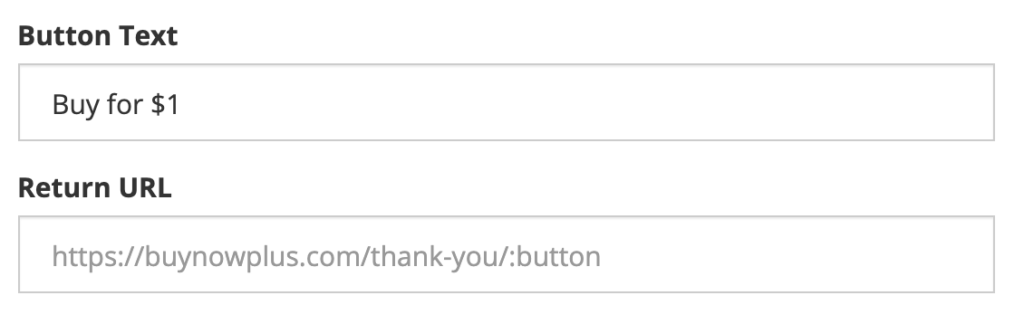
Next, you can open the Stripe Account drop-down menu and choose the account where payments will be deposited. After you click to expand the Advanced Options section, you can specify the text to appear on your Buy Now button:
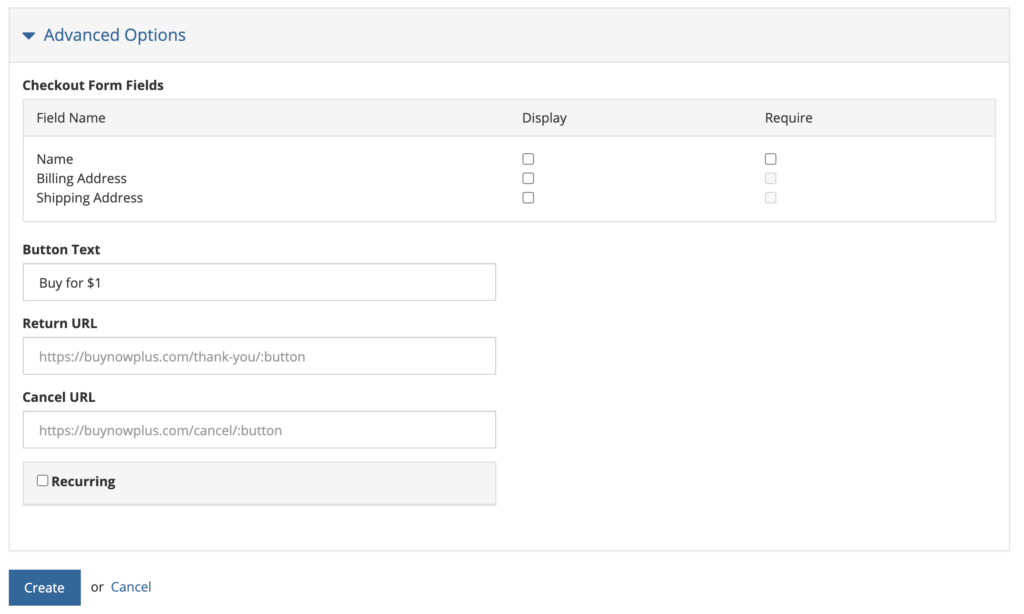
To improve the customer experience, you may want to display a thank you or payment confirmation page following a successful transaction. Similarly, you can redirect customers to an error page if they choose to cancel the transaction.
You can create these pages in your WordPress account, then copy and paste their URLs into the Return URL and Cancel URL fields:
While there are other settings you can customize, this is all you need to create a simple Buy Now button. Click Create to continue.
Step 4: Embed Your Button
How to Embed on Your Website
On the main Buy Now Plus dashboard, you can see how your button will appear to customers by selecting Preview. If you’re happy with how it looks, it’s time to add it to your website:
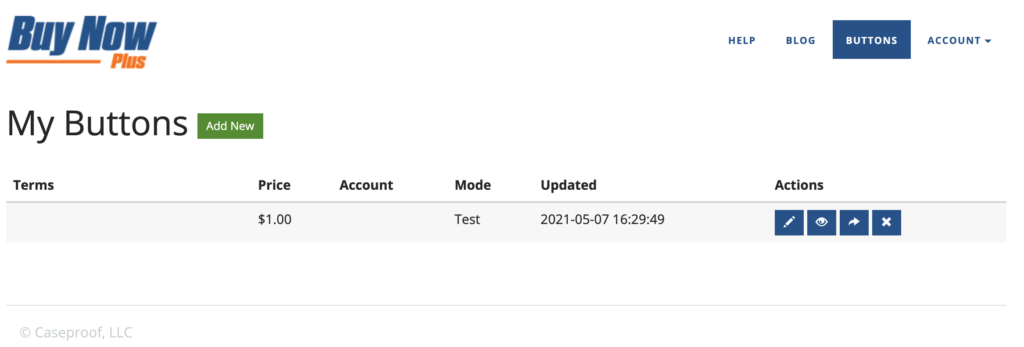
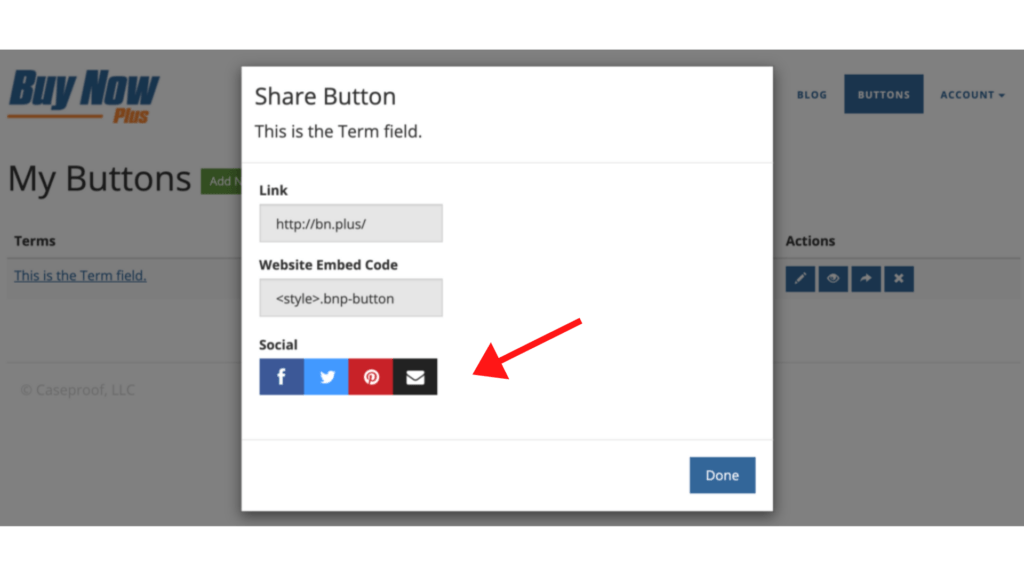
On the main dashboard, select the Sharing icon. This will launch the Share Button window containing an embed code:

Now, head over to your WordPress website and find the page or post where you want to feature your Buy Now button. Open the editor, and insert a Shortcode block at the exact location where you want to insert your button:
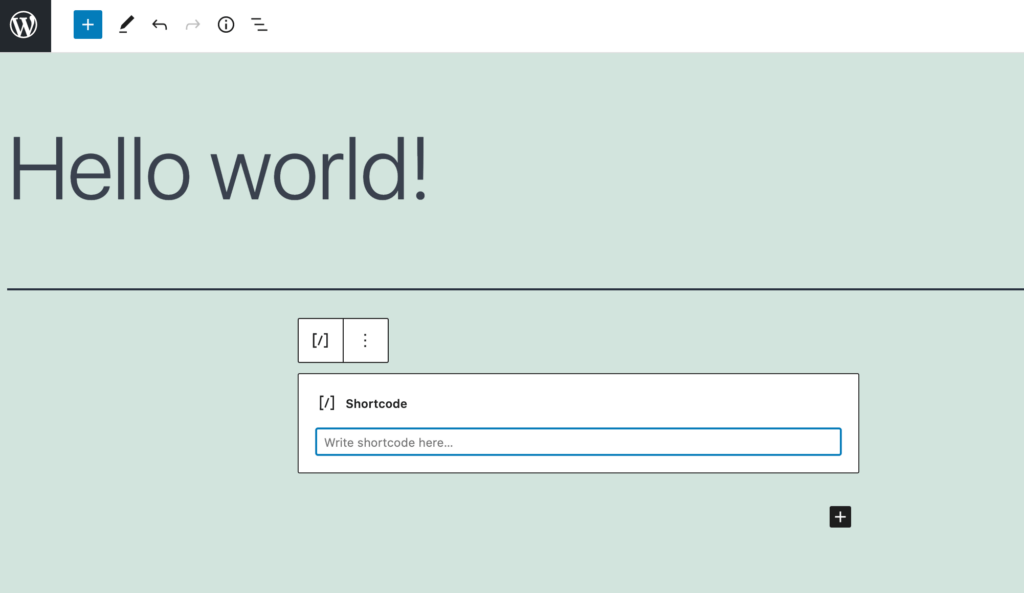
Next, paste your embed code into this block and save your changes. If you check your site, you should see a new Buy Now button!
How to Embed on Your Social Account
If you do business with a social account, simply follow the same instructions above, and click the sharing icon to open the Share Button window.
From the Share Button window, simply click on one of the social buttons. You'll then get a pop up window where you can sign into your account, and your links will be ready to go.
Conclusion
Cart abandonment is a huge problem for online stores, but Buy Now buttons promise to help you improve those all-important checkout rates. By removing steps from the payment process, your customers will have fewer opportunities to reconsider their purchases, and your conversions should increase as a result.
Let’s recap how you can create a Buy Now button with Stripe in four easy steps:
- Set up your Buy Now Plus account.
- Create a Buy Now button.
- Embed your button on your website or social account.
Do you have any questions about creating a Buy Now button with Stripe? Let us know in the comments section below!
If you liked this post, be sure to follow us on Twitter, Facebook, and LinkedIn.